Total Items: 0
Sub Total: $0.00
24.10.2017
Daniel Gangur takes some amazing photos of our great Country. On a regular basis, we'll send him some gear to field test on his expeditions and give us his feedback on what works and what doesn't.
Here's what Daniel had to say about the Big Agnes Fly Creek HV UL 1 Person Tent.....

I have been using Big Agnes tents for a while now for Bike packing and Photography Adventures, the Big Agnes
Tumble 1p serving me well over the past year, check out the review here.
Recently I decided I’d like to go a bit lighter on my bike and try and free up more space so I decided to start
looking for a new tent, being a Big Agnes fan I settled on the Big Agnes Fly Creek HV UL1.
The Big Agnes FLY Creek HV UL1 is a 1 person 3 season ultralight back packing tent that weighs in at a packed
weight at 936g. On receiving the tent I immediately noticed the weight and packed size difference in comparison
to the Tumble I have been using, the fly creek is tiny, it’s so small I need to pack it with something else in my
Handle bar harness so the straps can fully tighten, more on that later.
Specs + Sizing
Trail weight – 765g
Packed weight – 936g
Packed size – 10x48cm
Seasons – 3
Doors – 1
Footprint weight – 85g
Fast Fly Weight – 567g
Vestibule Area – 0.5 sqm
Features
DAC Angle SF Hub, unique to Fly Creek HV tents, enables improved high volume pole architecture
resulting in steeper wall angles
High Volume pole architecture increases useable interior space without increasing weight
Steeper walls and vestibule angle create a dry tent entry
Dry entry vestibule keeps the interior of your tent dry as you enter and exit
Vertical door construction adds more usable volume to the vestibule
Single door and vestibule featuring storm flaps on vestibule zipper
Reflective guy lines and webbing on tent corners
Fly and floor are silicone treated nylon rip-stop
Fly and floor have 1200mm waterproof polyurethane coating
Tent body is nylon and polyester mesh
All seams taped with waterproof, solvent-free polyurethane tape (No PVC or VOC’s)
DAC Featherlite NFL pole system with Angled SF Hubs
Ultralight plastic clips attach tent body to pole frame
11 Superlight aluminum J stakes
Three interior mesh pockets
Gear loft loops included
Footprint sold separately
Fast Fly setup available
UL1 fits Triangle gear loft – sold separately
Compatible with Big Agnes Entertainment Center loft and PowerCase/Loft- sold separately
Big Agnes lists several weights for their tents to aid your product research.
Trail weight refers to poles, fly, and tent body. Packed weight includes poles, fly, tent body, stakes, guy lines, stuff
sacks, instructions, and packaging.
Fast Fly weight refers to the poles, tent fly, and accessory Fast Fly footprint.
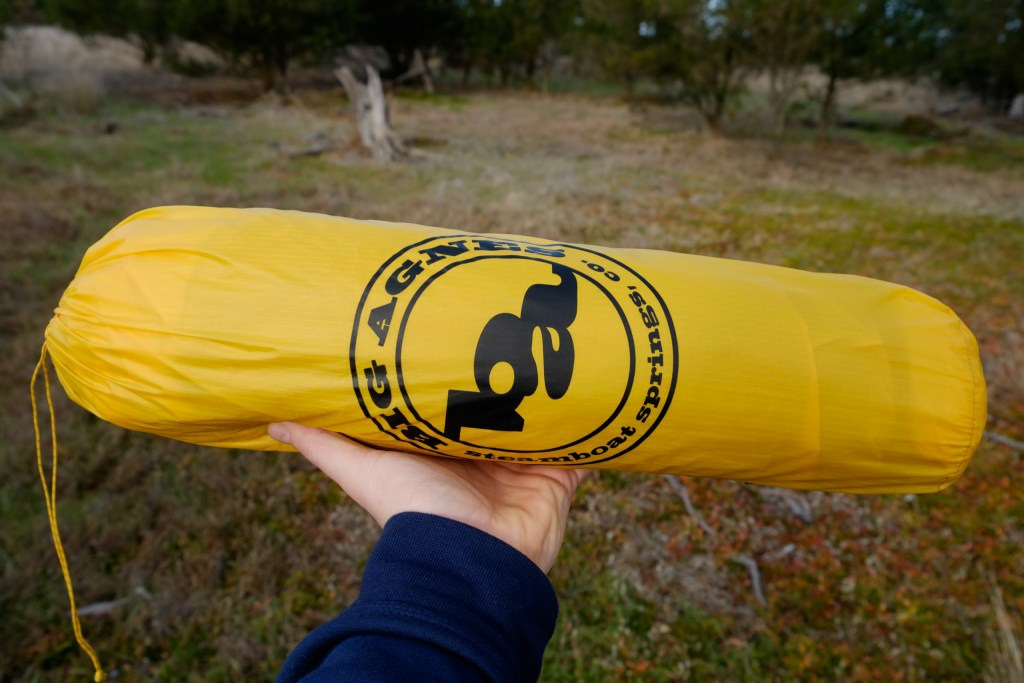
The whole tent, poles, stakes, fly everything you need, yep its small!
What’s in the package?
Included is a stuff sack, tent body, fly, poles, ultralight pegs, guy lines and field repair splint. Unfortunately there
is no footprint included. I really wish a footprint was included, as tents this light I believe need a footprint to
prevent damage, it would also allow the tent to be set up as a fast fly, minimal shelter when you want to shed a
little extra weight.
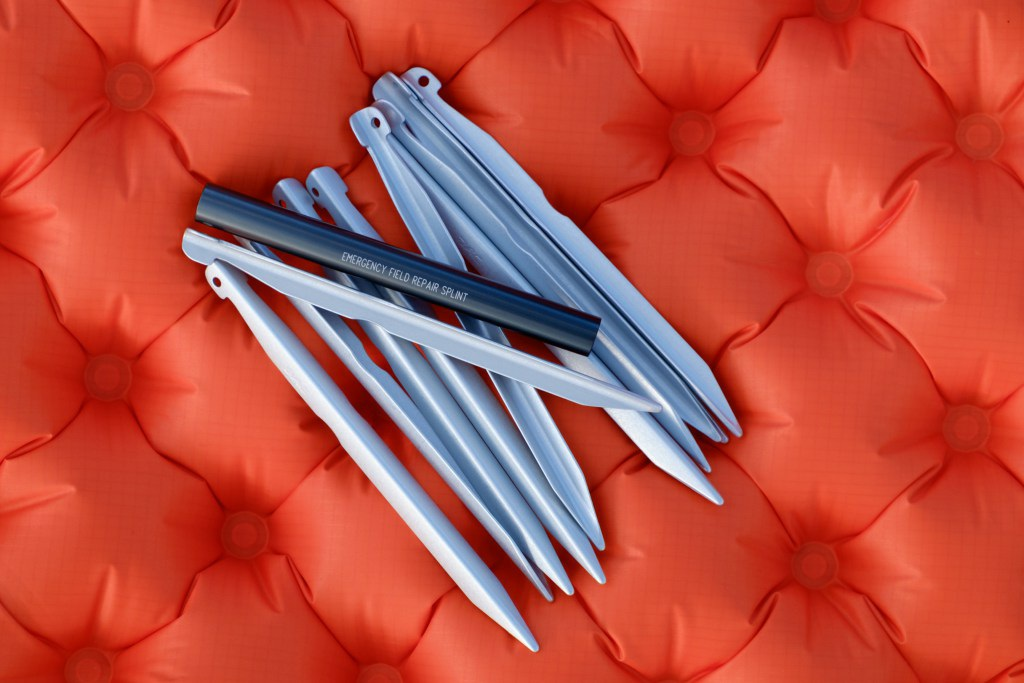
Tent pegs and pole field repair splint
Set Up
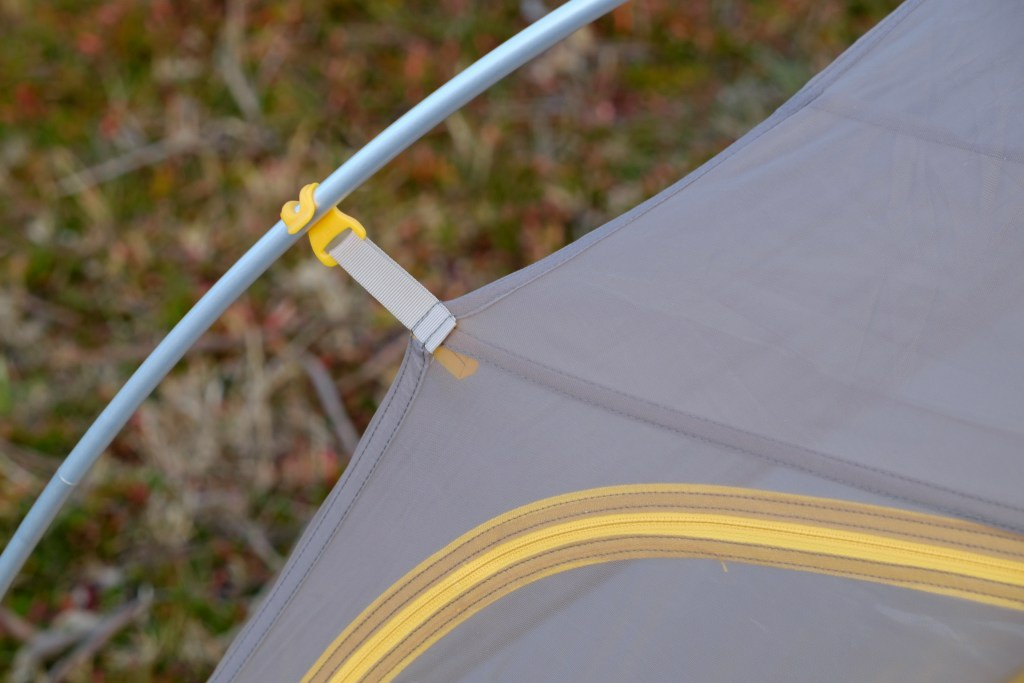
I found the Fly Creek HV UL1 a little harder to pitch than the Tumble. It’s a little bit more fiddly as it has a few
features that helps to get it’s weight down such as clips on the tent body that clip to the tent fly helping to open up
the space inside the tent and the small guy lines at the foot of the tent, these take a little getting used to when
pitching and trying to get the tent taught. I think though with a bit of practice it isn’t going to take any longer than
a couple of minutes to pitch.
The tent uses a single pole “system”, the pole itself is pretty easy to assemble as it’s elastic corded and it’s only
a matter of slotting all the lengths together and into the hub. You then place each end into the three pole rings at
each end of the tent body that you have laid out and clip the tent body to the pole. It’s then just a matter placing
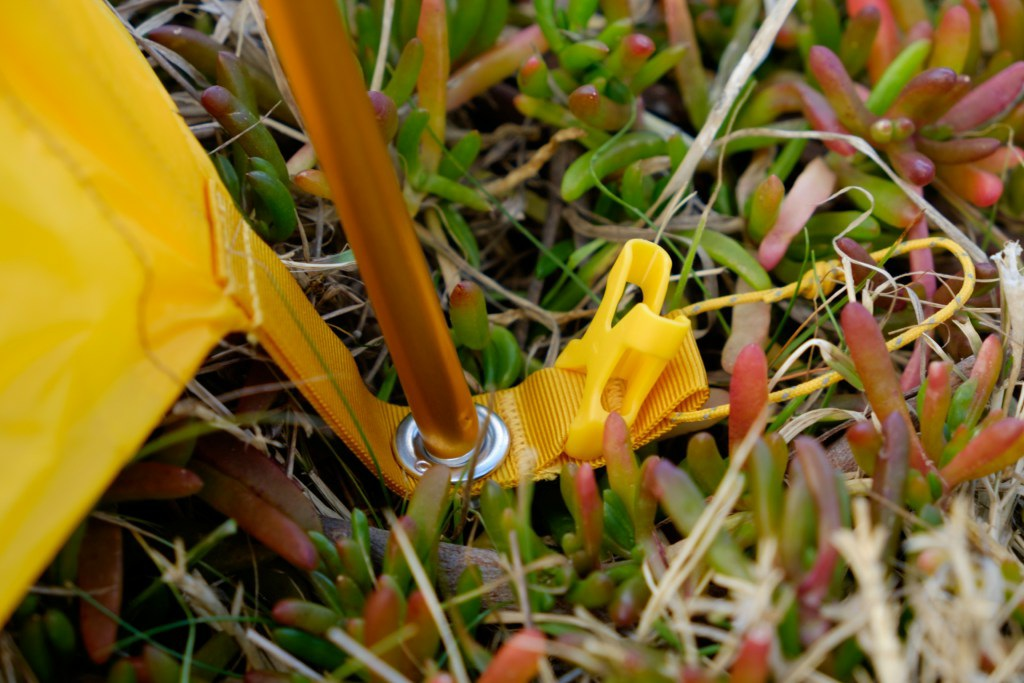
the fly on top, clipping the clips on the side of the tent body to the underside of the fly and clipping the fly to the
body by the colour coded buckles, pegging out the corners, vestibule, guy lines, and adjusting the guy lines and
fly clips to tighten up the tent and you are done. Might sound a bit time consuming but it is all very
straightforward and quick to do.
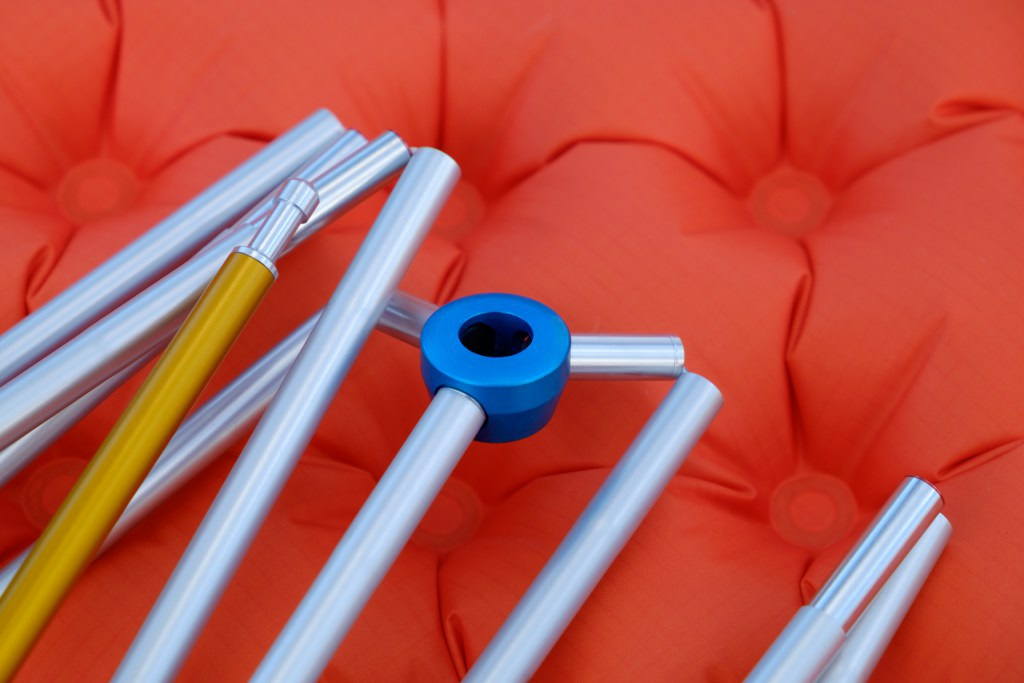
DAC featherlight poles and hub
Slot the rear pole in here, “yellow pole “yellow tab
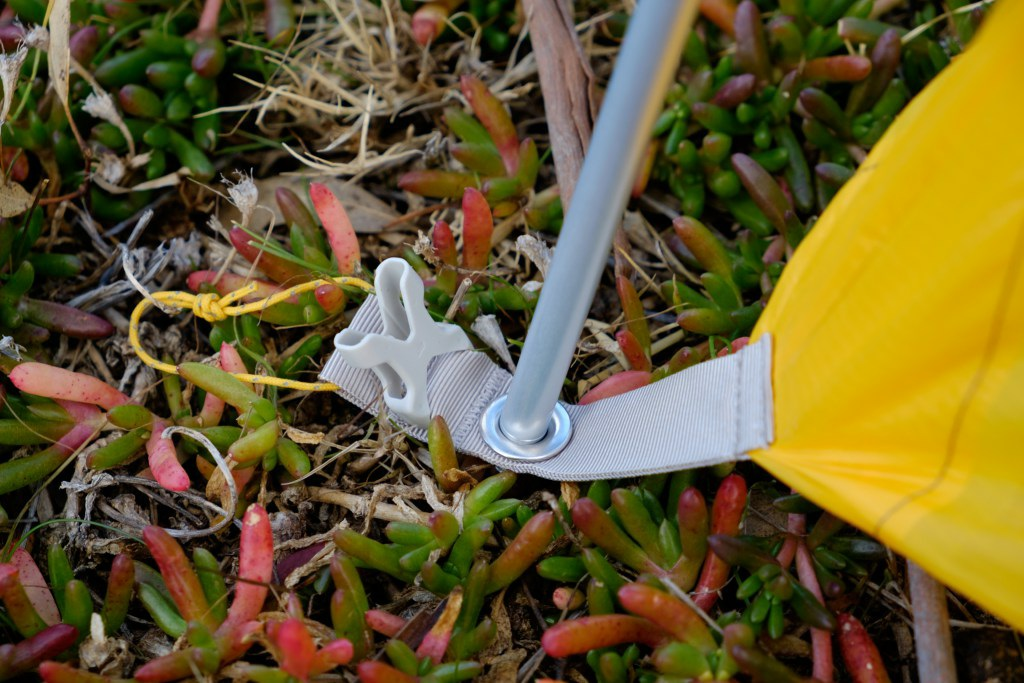
Slot the two front end of the pole into the grey tab holes, grey pole, grey tab.
Clip the body out onto the poles

Clip the fly into these clips, note reflective material on the strap
The tent isn’t fully free standing you do need to at least peg out the vestibule and tent corners but that isn’t too much of a problem and its small size makes it easy to find a place suitable.
In use
I’ve used this tent only the one time so far and pitched it a couple of times to take pics for this review. In use I
found it a little awkward to get into as you need to climb in over your gear with the front entry, personally I like a
side entry tent better but I’m guessing front entry is a way to shave grams.
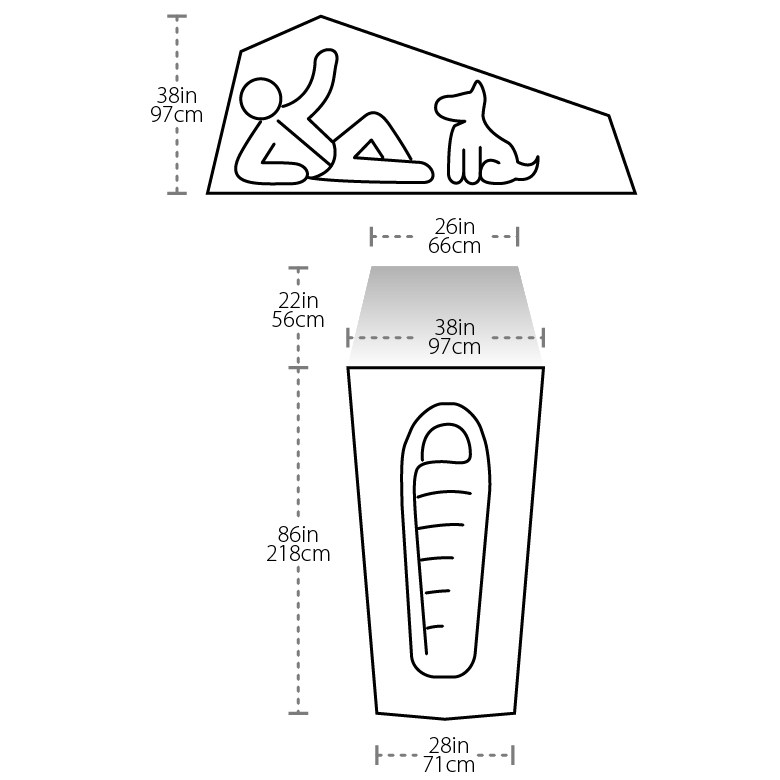
Size wise I’m about 180cm and there was enough room inside for me, my helmet, saddlebag and of course
sleep matt and sleeping bag without feeling too cramped and without my feet touching the end of the tent. The
vestibule is big enough to put a large pack and shoes under.
The night I slept in the tent I had a bit of everything weather wise, really strong intermittent gusts of wind, cool
temps and light rain. The tent stood pretty solid in the wind but I would try and find some shelter rather than pitch
out in the open if really windy although it didn’t really give me any reason to worry, I did however notice that I got
a bit of a breeze coming in under the fly at times, I’ve never had this before in the Tumble. Despite this I had a
good comfortable nights sleep.
Early hours of the morning it started to drizzle rain, getting stronger in the morning, not heavy but consistent, no
water got into the tent even with me inside moving around touching the roof and walls packing up my gear out of
the rain, I think this tent would handle handle most conditions.
Inside the tent we have three mesh pockets, the one above your head is small but fantastic for putting your head
torch in for a bit of light where it is also easy to find at night. The side pockets are cut on an angle which makes
them hard to put much in, I put my phone and keys in one but I’m not a fan of them, like a lot on this tent I think
the pockets are designed to cut weight.
Zippers on the tent are small, light weight but good quality just like other hardware such as the guy line tension
clamps, they work well and as intended. The main tent tub and fly have 1200mm waterproof polyurethane
coating it seems to work well keeping out water but both are very lightweight so I’d be careful where you pitch
the tent with out a footprint, I can see it being very easy to put a hole in.
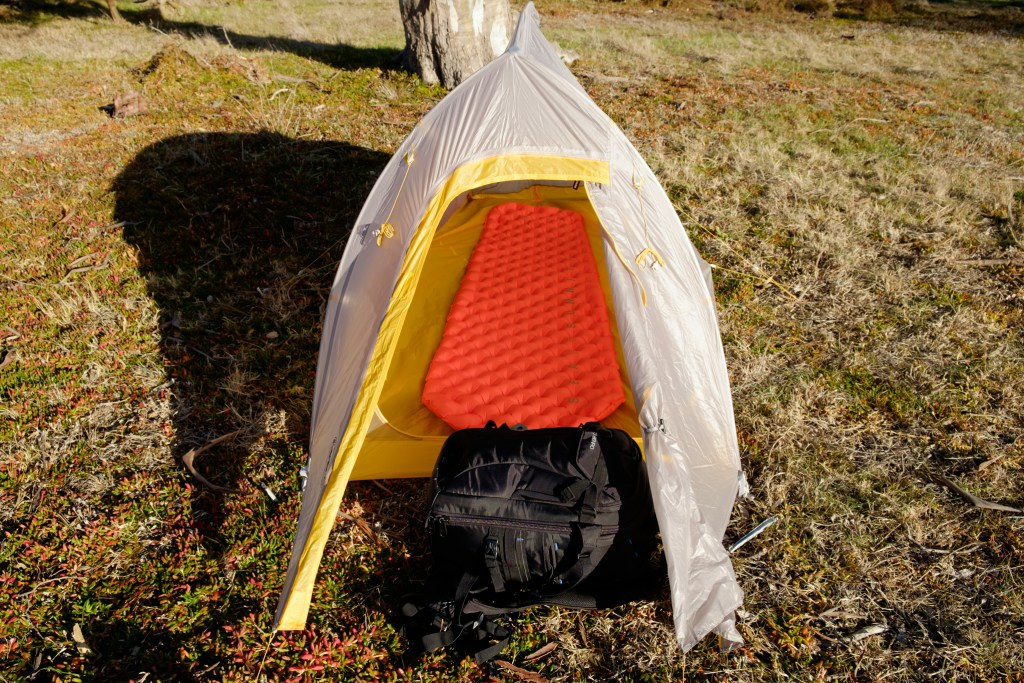
That’s a Benro ranger camera backpack and a regular sized sea to summit insulated ultralight sleep matt inside,
its cosy but enough room for everything I need.
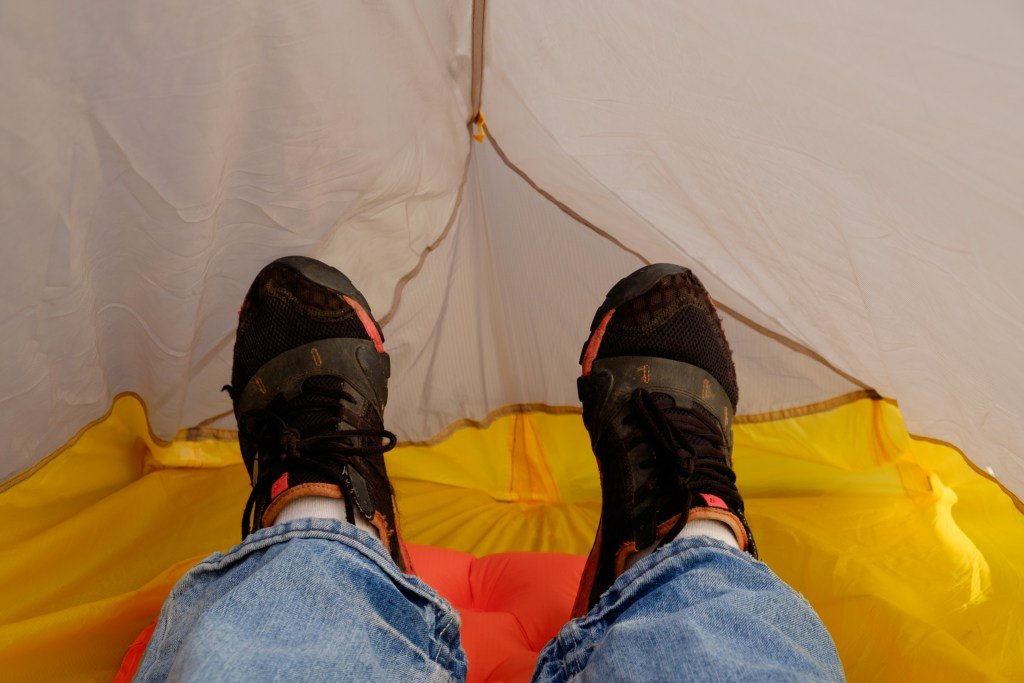
The foot end of the tent, enough room so I don’t touch the walls etc especially if I pitch it right, excuse poor
pitching, this was the first time I pitched it.
What I like
The packed weight and size of this tent is incredibly light and small, At 936g this is half the weight of my Tumble
1p. When packing this on the bike in my Bike Bag Dude handlebar sling I actually need to have something else
in the sling or I can’t tighten it up enough, this is great as it means I have more space up there for gear. I can
either pack tent and sleeping pad for a compact lightweight package or I can pack the tent, sleeping pad, food
and more in a dry bag in the harness. In comparison with my Tumble 1p I can only fit it and my sleeping pad in
the same dry bag.
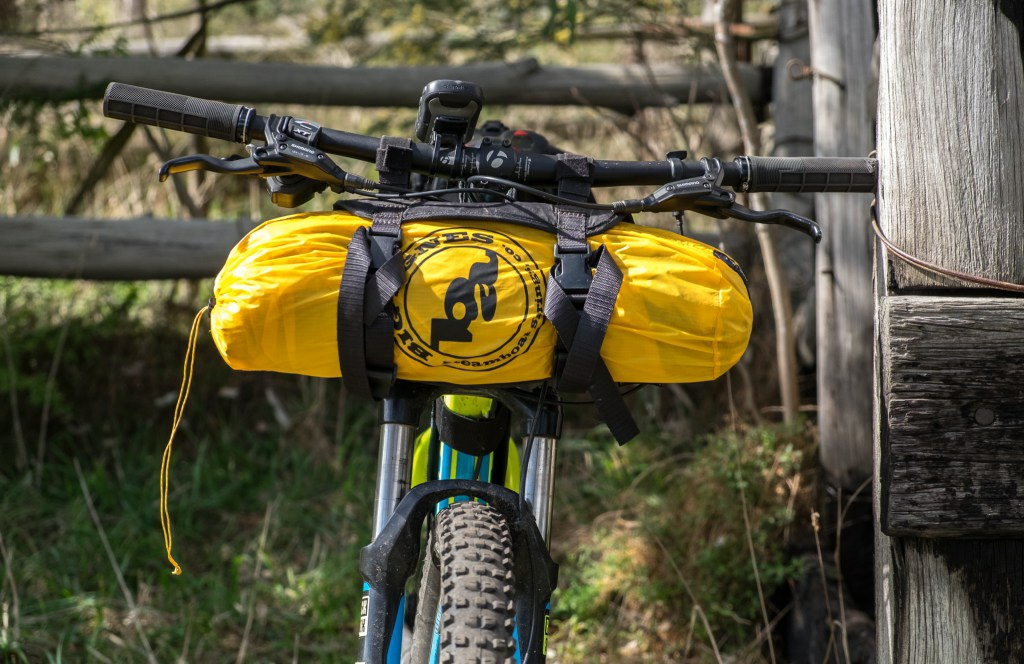
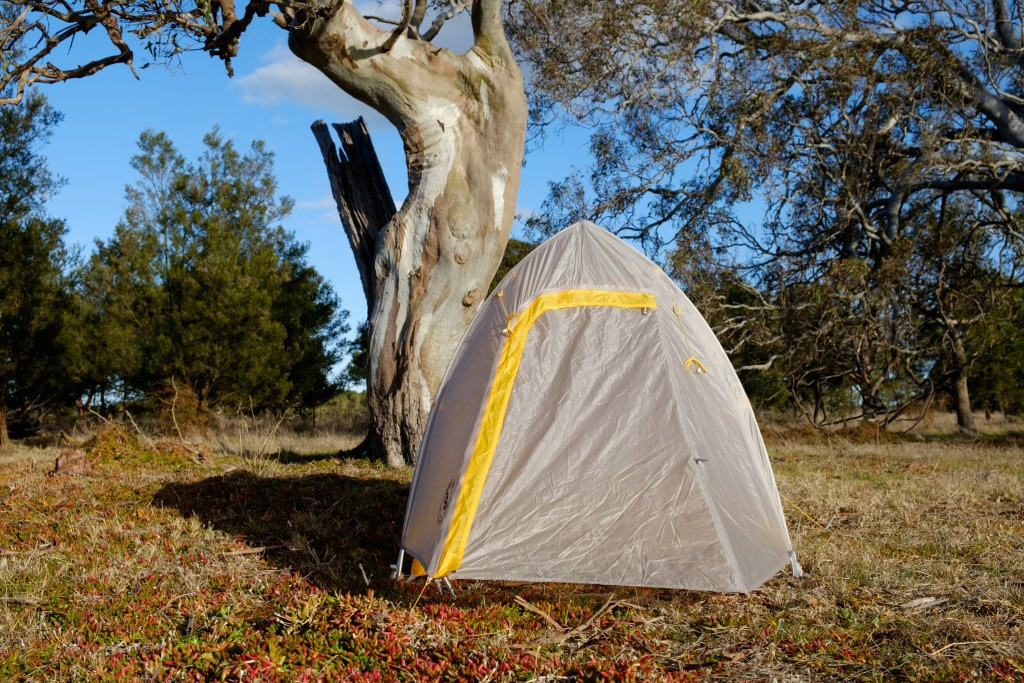
Packs small leaving room for more load on my bike and plenty of suspension travel
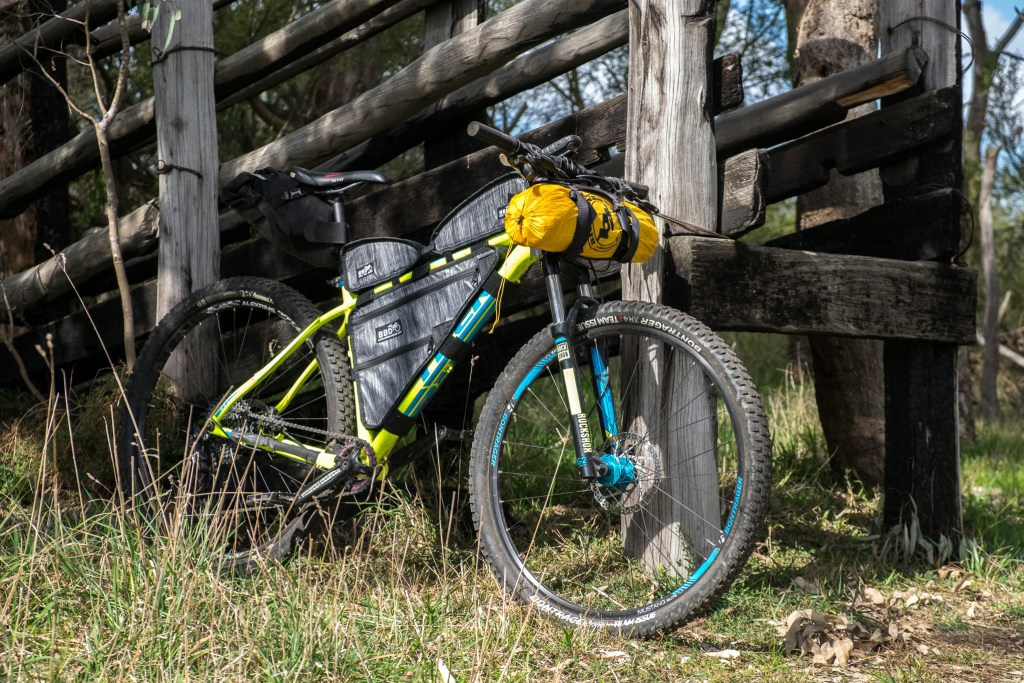
Side view, plenty of space and room for suspension travel
I also really like the reflective guy lines and tent tabs, from a safety point of view these are useful, helps you or
others from tripping on your guy lines and tent, it also aids visibility if pitched where a vehicle maybe driven,
campground etc.
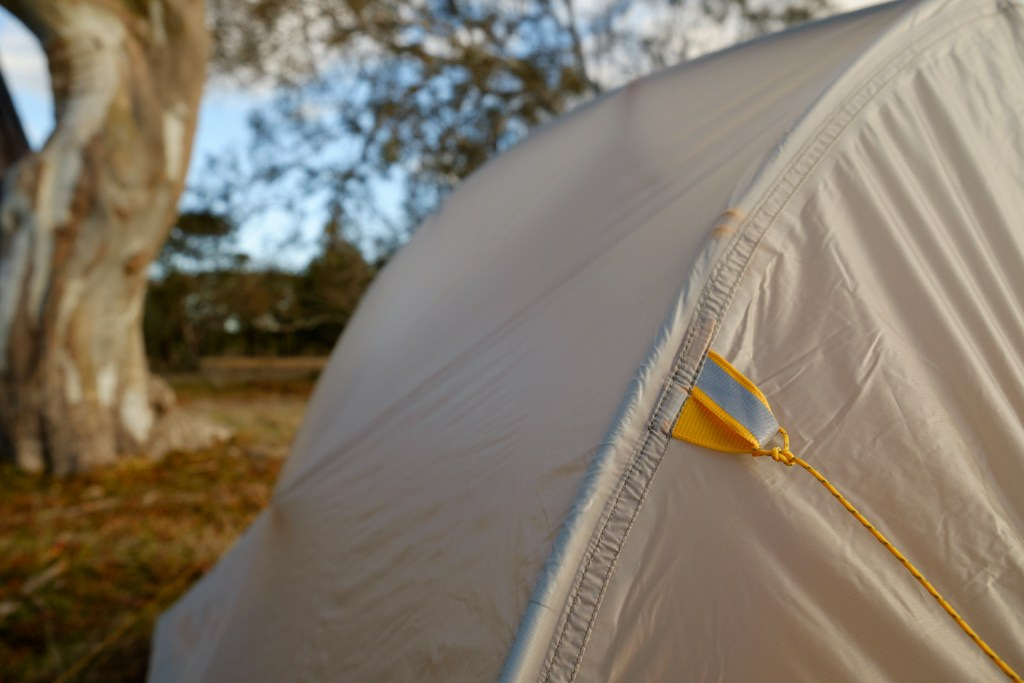
Reflective Tabs
Conclusion
The Big Agnes Fly Creek HV UL 1 is a really nice lightweight 1 person tent that is suitable for when you want to
go really light. I will be using this for weekend trips and long-distance racing on my mountain bike and also for
my overnight photography trips when I just want something small and light for a bit of shelter when doing astro
photography. This tent would also be fantastic for hiking, It’s small size and weight being fantastic for this
purpose.
I don’t think I would use the Fly Creek for long term touring, it’s made to be light and pack small but I think this
compromises its strength and usability a bit. The Big Agnes Tumble I’ve compared it too in this review might be a
better option for that purpose, feeling a bit more robust and user friendly.
But for it’s intended purpose of offering good shelter from the elements while being light and small the Fly Creek
is a great option and I’m really looking forward to using this on some big rides.
Author;
Daniel Gangur
https://www.instagram.com/gippslandimages/
https://www.facebook.com/gippslandimages/
www.gippslandimages.com.au

____________________________________________________________
Check us out on Facebook
Check us out on Instagram
Subscribe to our YouTube channel


Using Afterpay you can pay for your order over 8 weeks. There's no interest or added fees* and nothing to pay today. Payment will be automatically taken from your debit or credit card in four equal payments each fortnight over 8 weeks, and you will receive your order immediately.
You simply need:
To use this service simply:
Approved AfterPay buyers will require the funds for the first payment to be available on their card at time of checkout, however the first payment won't be deducted for 14 days. First time AfterPay buyers will need to make the first instalment payment at the time of their purchase.
If you wish to return your goods you can choose to receive an exchange, or the Afterpay payment plan can be cancelled before the first payment at no charge. *If you fail to have sufficient funds available for AfterPay to automatically deduct payment on due instalment dates you will be charged a late fee of $10, and if the instalment payment remains overdue, an additional $7 will be charged one week later.
With AfterPay, there's no waiting and we'll ship out your order immediately as normal.

When you want to go now, sometimes it's handy to pay later. That's why, we offer interest free payment plans from two of Australia's favourite Buy now, Pay later services.