Total Items: 0
Sub Total: $0.00

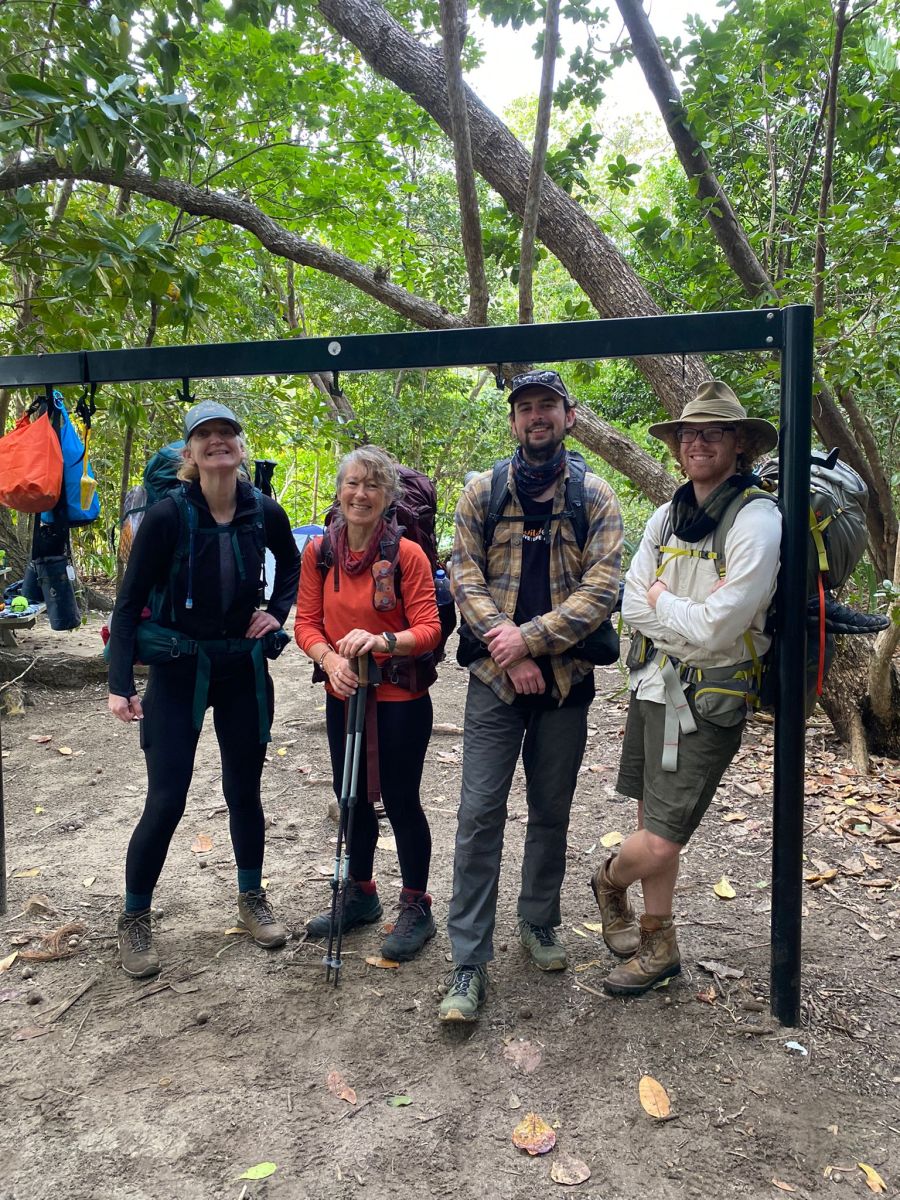
Tash shares everything she learned hiking the Thorsborne Trail, Hinchinbrook Island with Wild Earth teammates Tristan, Ronan, and Lynne, from what to pack to how to plan and everything in between.
UPDATED 2026.
Table of Contents
Hi I'm Tash, a lifelong hiker with 25+ years of experience on the trail. I've tackled multi-day hikes across the French Alps, Indian Himalayas, Canadian Rockies, New Zealand, and Australia, including the iconic Overland Track and Thorsborne Trail. I've been helping people with hiking gear since 2010, and when I'm not trekking, I'm usually biking or off on a snow adventure.
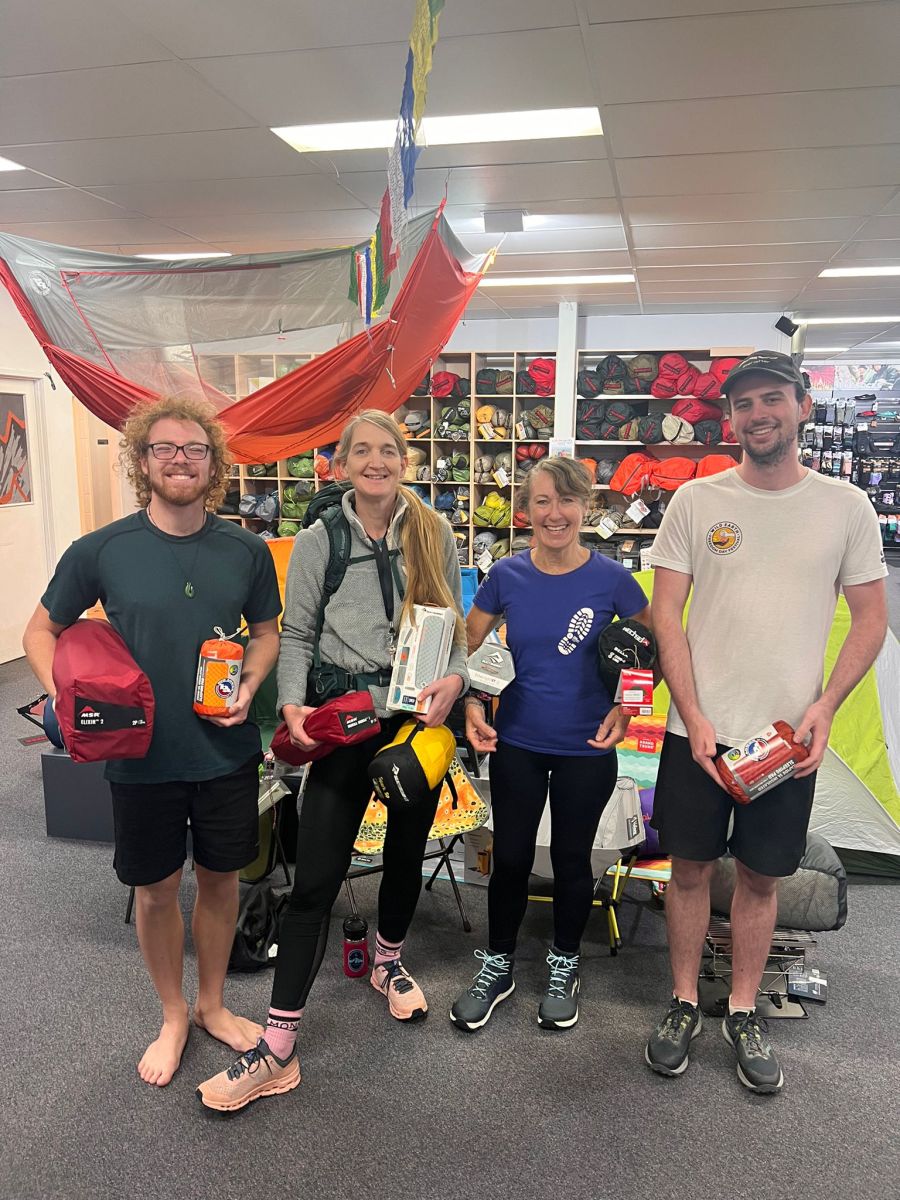
From Left: Our Wild Earth team, Ronan, Tash, Lynne and Tristan
Choosing the right gear can make all the difference between an incredible adventure and a tough, uncomfortable trip. From well-fitted boots to reliable shelter, what you carry really matters. I love helping people find the gear that works for them, so they can feel confident and enjoy every moment on the trail.
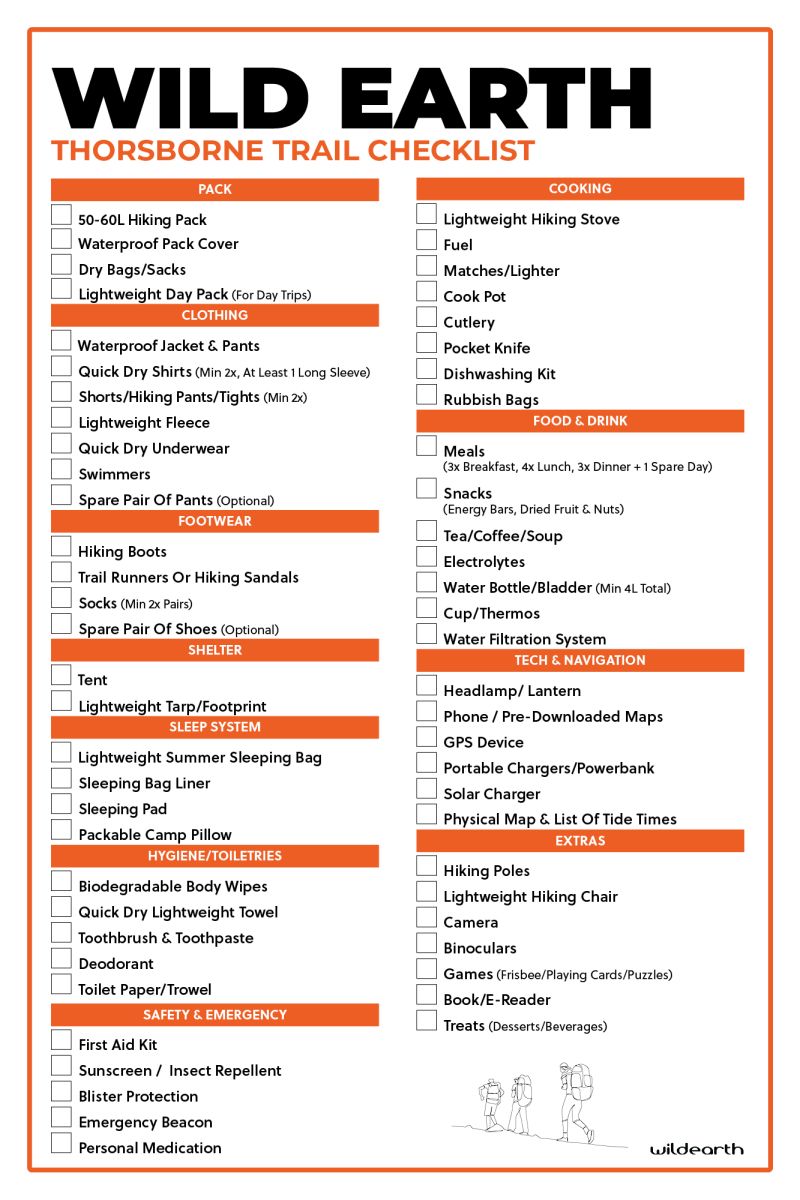
I hiked the Thorsborne Trail with Wild Earth teammates Tristan, Ronan, and Lynne. This guide pulls together everything we learned on the trail including what to pack, how to get there, and what to know before you set foot on Hinchinbrook Island. If you’re short on time you can download the Thorsborne Packing Checklist here.
.jpg)
Flat lay of all of the gear I took on the Thorsborne Trail
Trip Type: Self-sufficient tropical multi-day hike. Point to Point
Destination: Hinchinbrook Island, QLD, Australia (Thorsborne Trail)
Distance: 32km
Trip Length: 4 Days.
Accommodation: Wild camping (limited facilities/toilets/power)
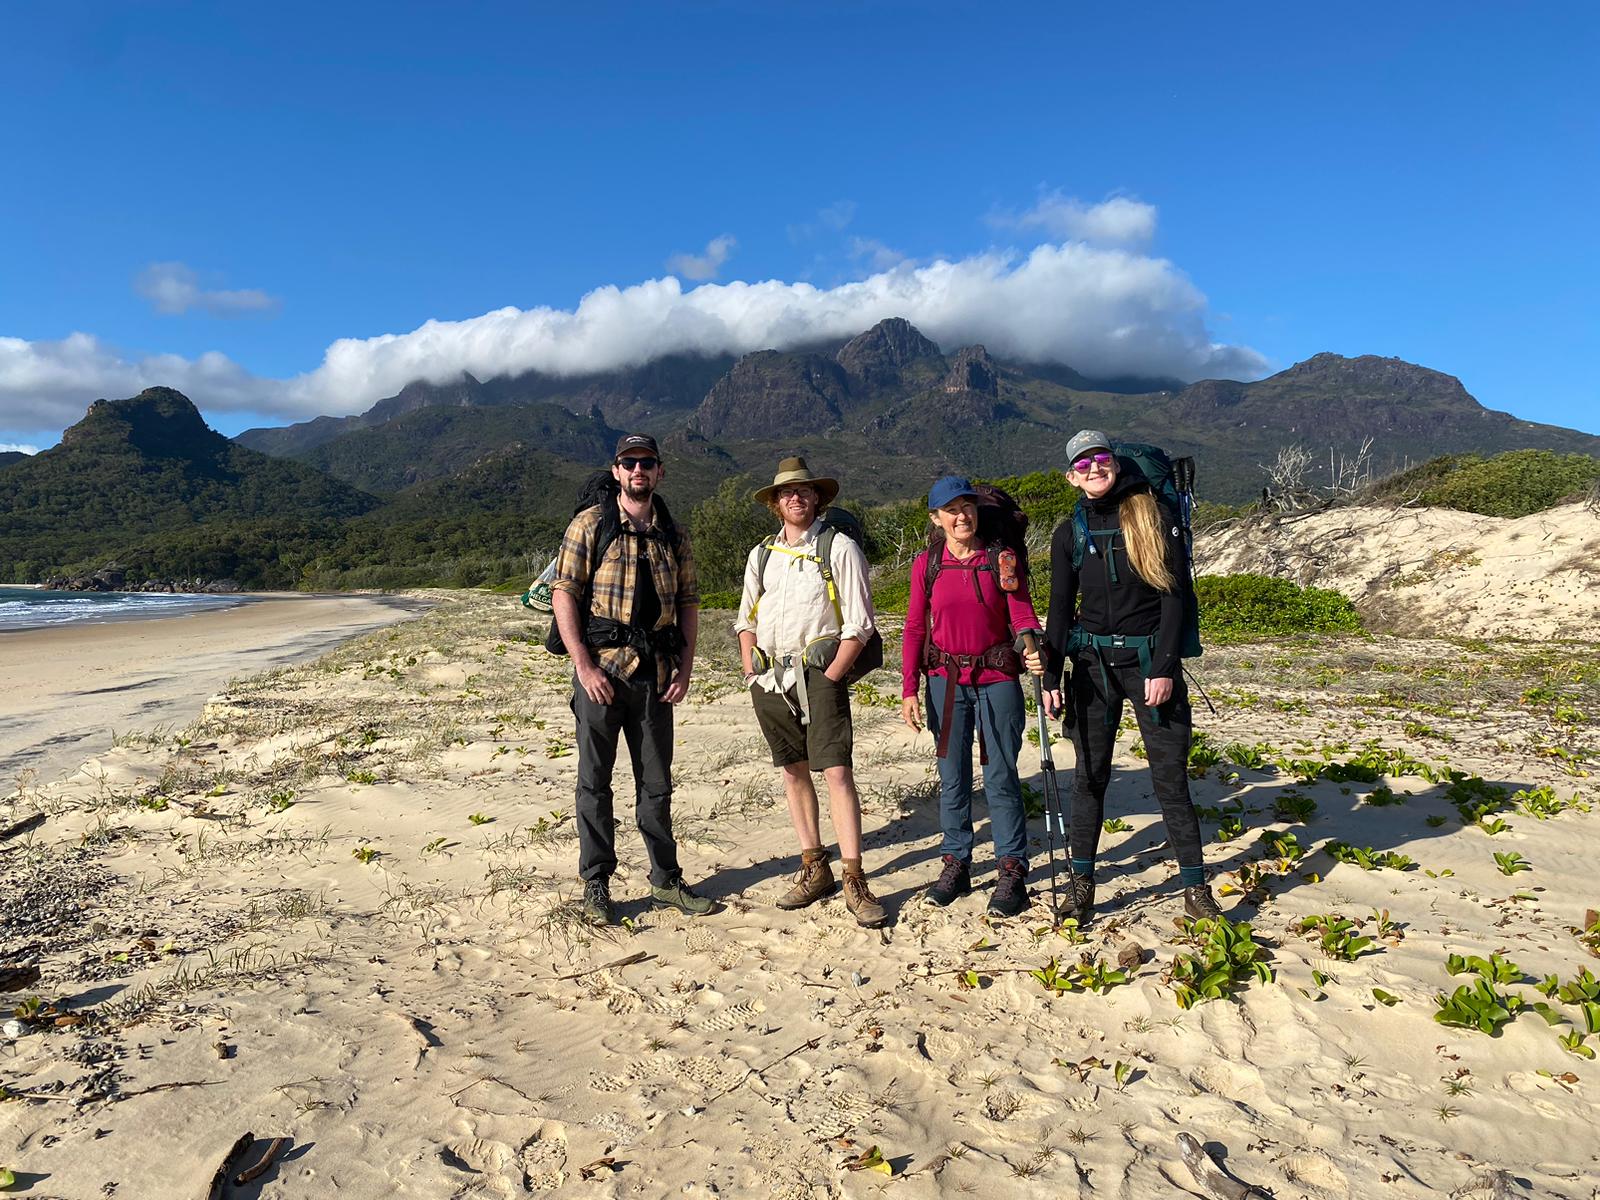
Photo of the team on the beach at Hinchenbrook Island
The Thorsborne Trail isn't your average coastal hike. Hinchinbrook Island has unique challenges that should absolutely dictate what ends up in your pack and after doing the trail, there are three things I wish someone had really spelt out for me beforehand:
The tropics have a way of making temperatures feel much hotter than the forecast. At 15°C overnight with humidity sitting at 80-90%, your sweat isn't going anywhere! A fully sealed rain jacket quickly becomes a portable sauna, soaking you from the inside just as much as the rain would from the outside. For this trail, breathability matters more than waterproofing. Look for a rain shell with pit zips (the Patagonia Granite Crest was a lifesaver for this), and skip the heavy down layer in favour of a lightweight synthetic fleece. Keep in mind you’re not just packing for the temperature, you're packing for the moisture.
On Hinchinbrook the moon has a big say regarding your schedule! Key creek crossings like Mulligan's Creek can become impassable at high tide, and lingering too long near estuarine waterways should be avoided in croc country.
Having a tide table on hand isn't optional, it's an essential part of trip planning. Brad from Hinchinbrook Island Cruises actually gave us one before we set off and we referred to it constantly. This is another reason why quick-drying trail runners can be a smarter choice than boots for those stretches (waterlogged shoes make for pretty miserable hiking).
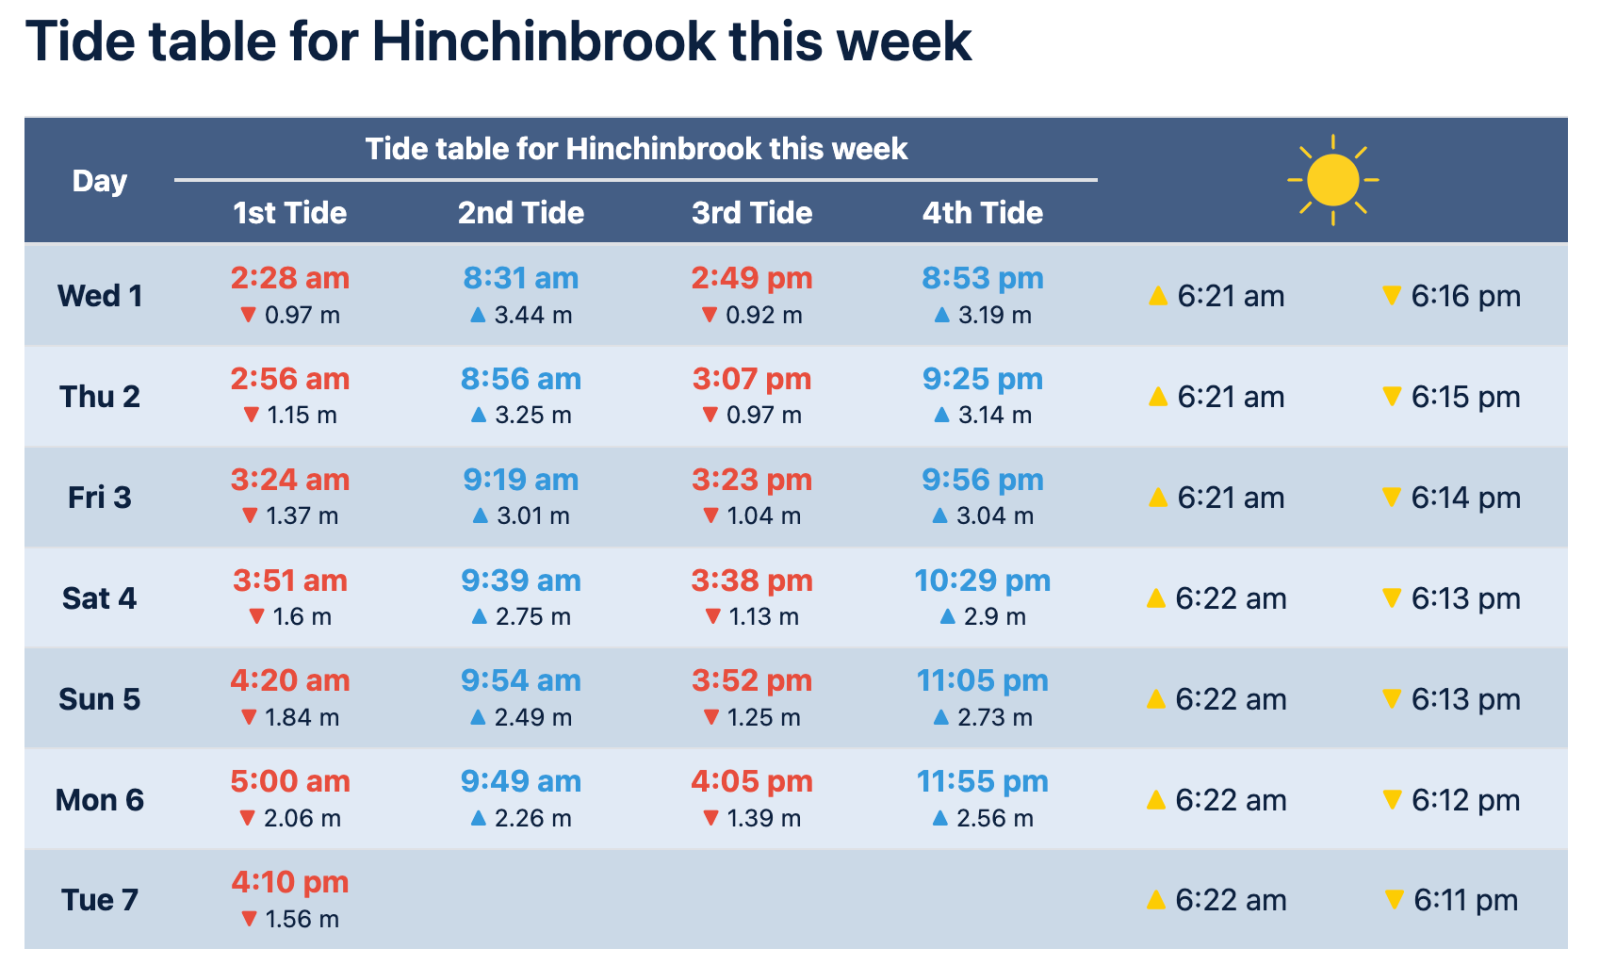
Example tide table from: www.tideschart.com
I say this with genuine respect…the Giant white-tailed rat is the most relentless creature on Hinchinbrook, and no amount of trip research quite prepares you for how persistent they are! These little guys can chew through a tent or a pack in minutes if there's anything remotely salty or food-scented inside.
Follow these rules and you should be fine:
Losing a packet of jerky is annoying but losing a panel of your backpack or the corner of your tent can be a real problem.
Hinchinbrook Island sits about 8km off the Queensland coast at Cardwell, between Townsville and Cairns and those are the nearest airports. From there, you'll need to drive to either Cardwell or Lucinda, which are the two mainland departure points for boat transfers to the island (that takes around 40 minutes - 1 hour!). You can take the train (stop by request when booking) from Bris to Cardwell too!
Hinchinbrook Island Cruises and Absolute North Charters are the two operators running transfers to both ends of the Thorsborne Trail, we used Hinchinbrook Island Cruises and thought they were great.
The trail runs point-to-point, so be sure to organise a boat to each end and the drop-off is at Ramsay Bay in the North to start, and the pick-up point is from George Point in the South when you finish.
If you're leaving your car on the mainland, you can park at Lucinda and both operators manage transfers from both ends of the trail, so you can return to where you started.

A cheeky tinny on the boat
There are only about cap of 60 places across the trail at any one time, and they get snapped up really fast. During dry season, permits are often booked out six months to a year in advance, particularly over the weekends. The maximum self-sufficient independent hiker group size for the Thorsborne Trail is six.
The booking system has changed as of early 2025 so you now choose a start date and number of people, then select a Thorsborne Trail Pass for the number of nights you want (2-5 nights).
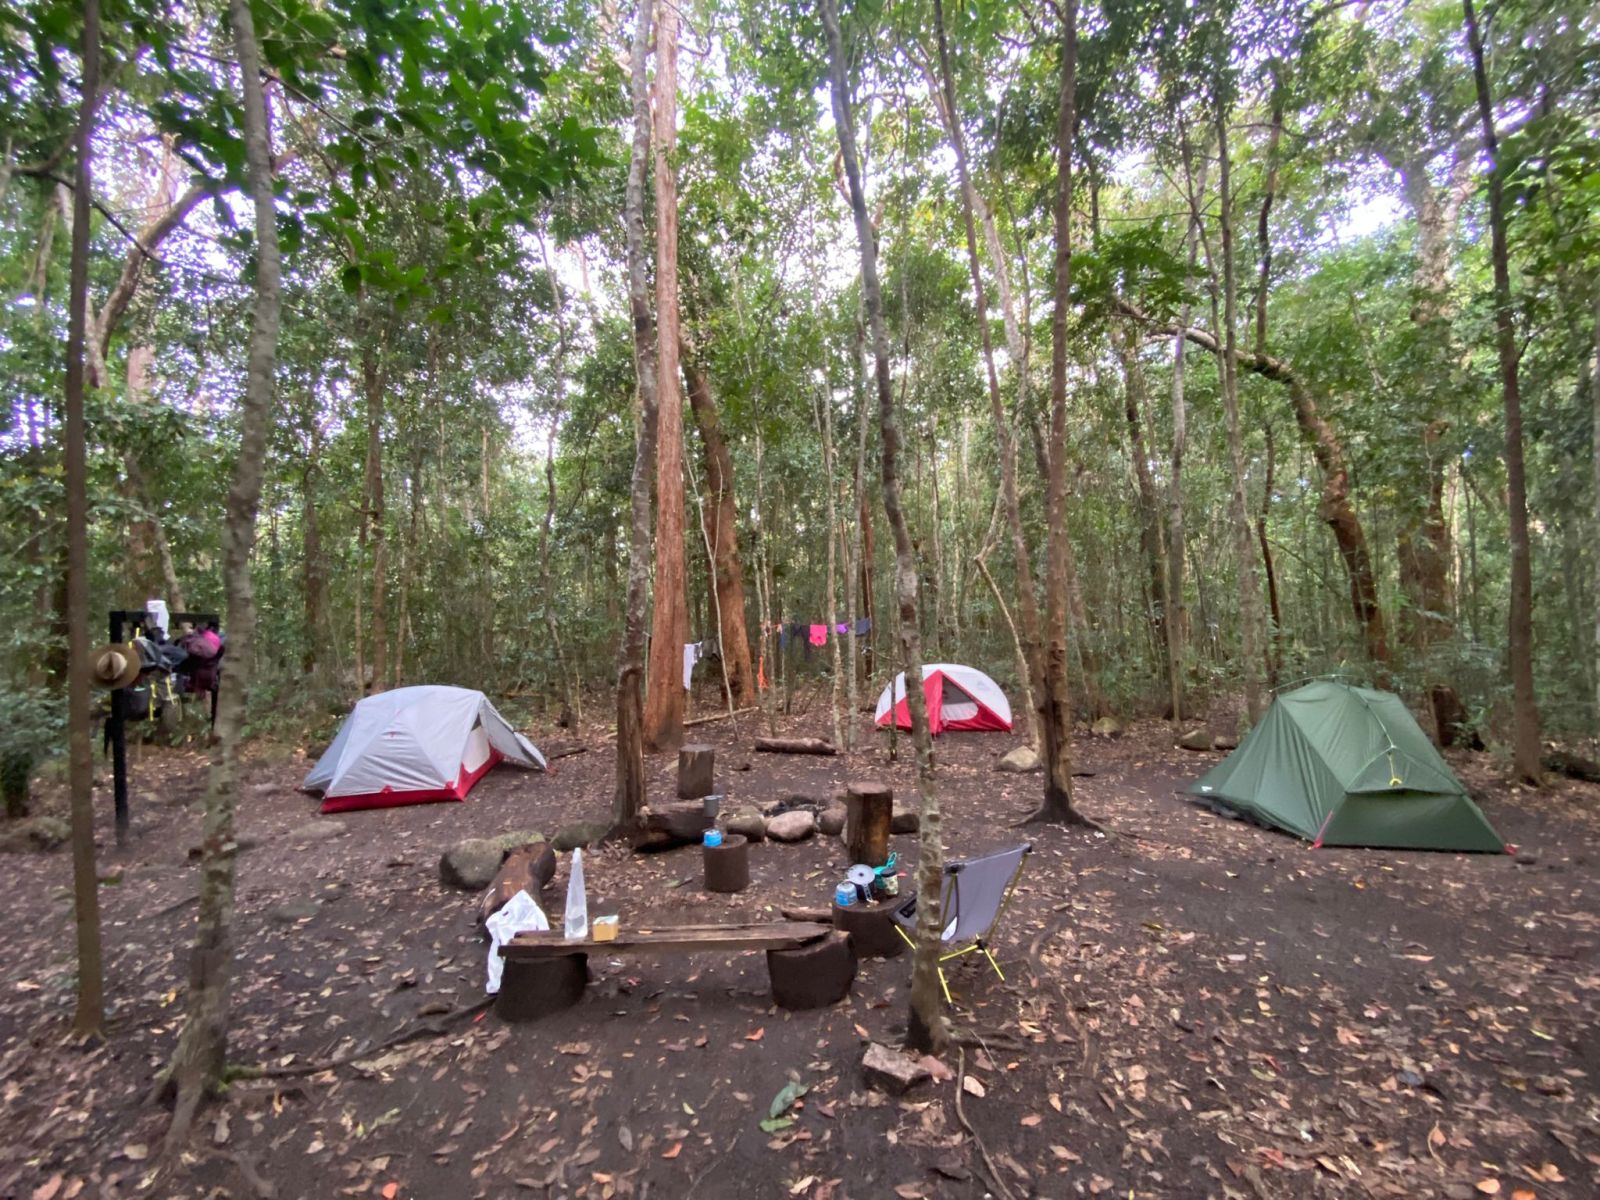
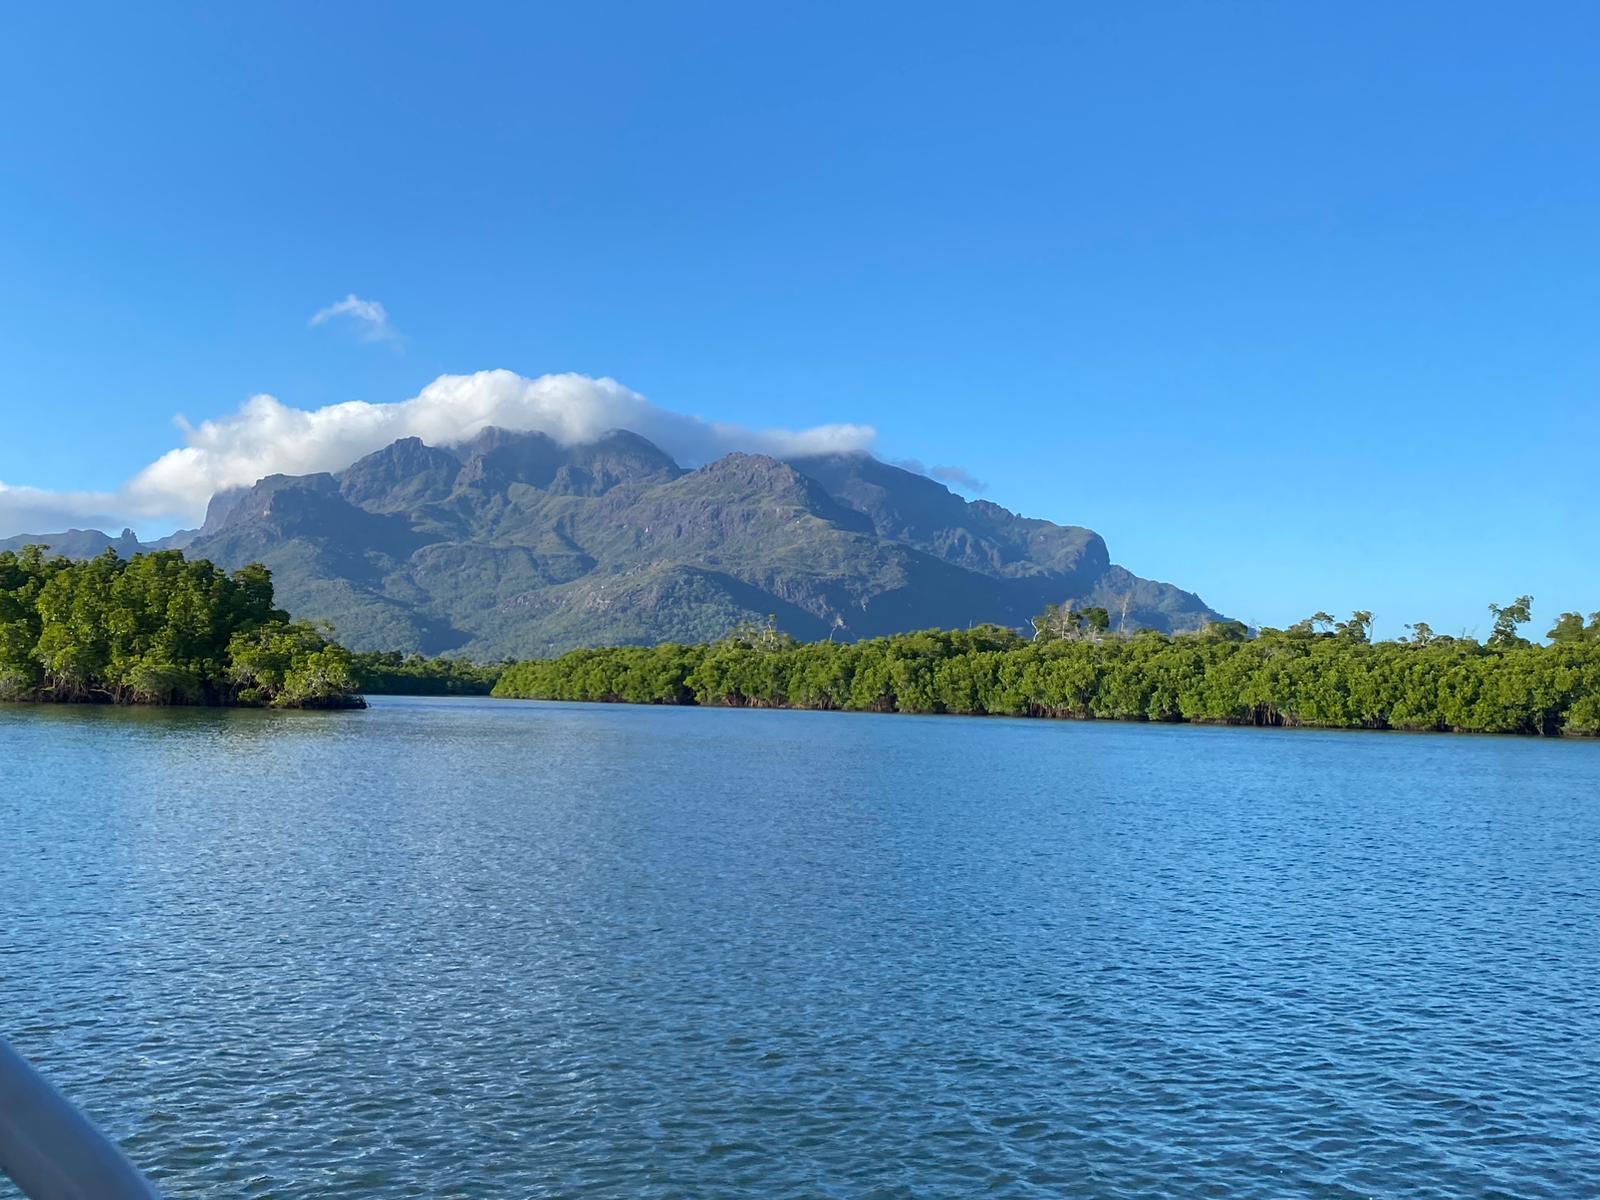
A view from camp
Parks and forests Permits are released in blocks, so you'll want to check the Queensland National Parks Booking Service website well ahead of time for the release date and be ready at 10am Queensland time when they go live.
The permit fee is $6.75 per person per night, so the cost of the permit itself is not the issue. The issue is availability. Keep an eye on the booking system even after release, though, as people do cancel permits they no longer need, so spots can come up. Check the permit release dates here.
An important camping rule to know:
The Thorsborne Trail and hiking season operates between 1 March to 31 December each year but the ideal time is during the autumn and winter months, April through September, when conditions are cooler and rainfall is minimal.
The trail has a seasonal closure from January to the end of February and the wet season (roughly October-April) brings stinger and crocodile risk, rapidly rising creeks, and challenging conditions in general. If you're considering going outside of peak season, do your research carefully and check all current park alerts before booking anything.
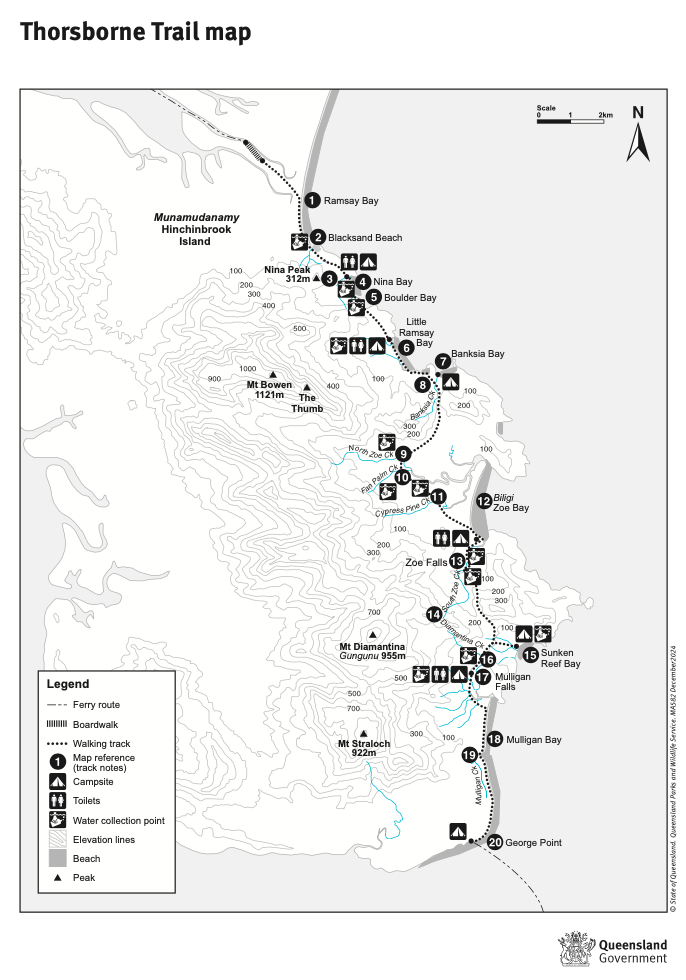
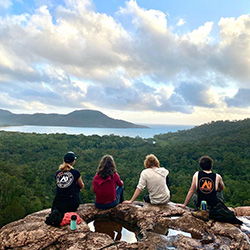
Epic views of the Island
It's strongly recommended to start at the northern end (Ramsay Bay) and walk south to George Point. The northern section has limited water sources, so you use what you carry in the first day or two, and water becomes more accessible as you move south.
Finishing at George Point also means a short transfer back to the mainland (which is always a nice way to end a big hike). George Point campsite also didn’t look good at all and there were no real nice views, so don’t plan to camp there unless absolutely necessary. Mulligan Falls, the campsite before, was far prettier and had running water (George’s Point didn’t).
Lynne And Tash taking in the views
Things have been changing on the trail lately, it's worth checking the QPWS website for alerts before you go. The Queensland Government committed $3.2 million for the Thorsborne Enhancement Project, with new campsite infrastructure, composting toilets, and redesigned camping areas being completed across 2025. Some facilities that didn't exist when I did the trail in 2023 are now in place, which is a great improvement.
Something worth knowing before you set foot on the trail is that Hinchinbrook Island has a name that long predates the one most hikers know it by. The Bandjin and Girramay people are the Traditional Owners of Munamudanamy, and they maintain an ongoing, active connection to this land and sea country, working closely with Queensland Parks and Wildlife Service in decisions about how the island is managed including the project mentioned above. Walking here is a privilege, and that context makes the experience richer if you carry it with you.
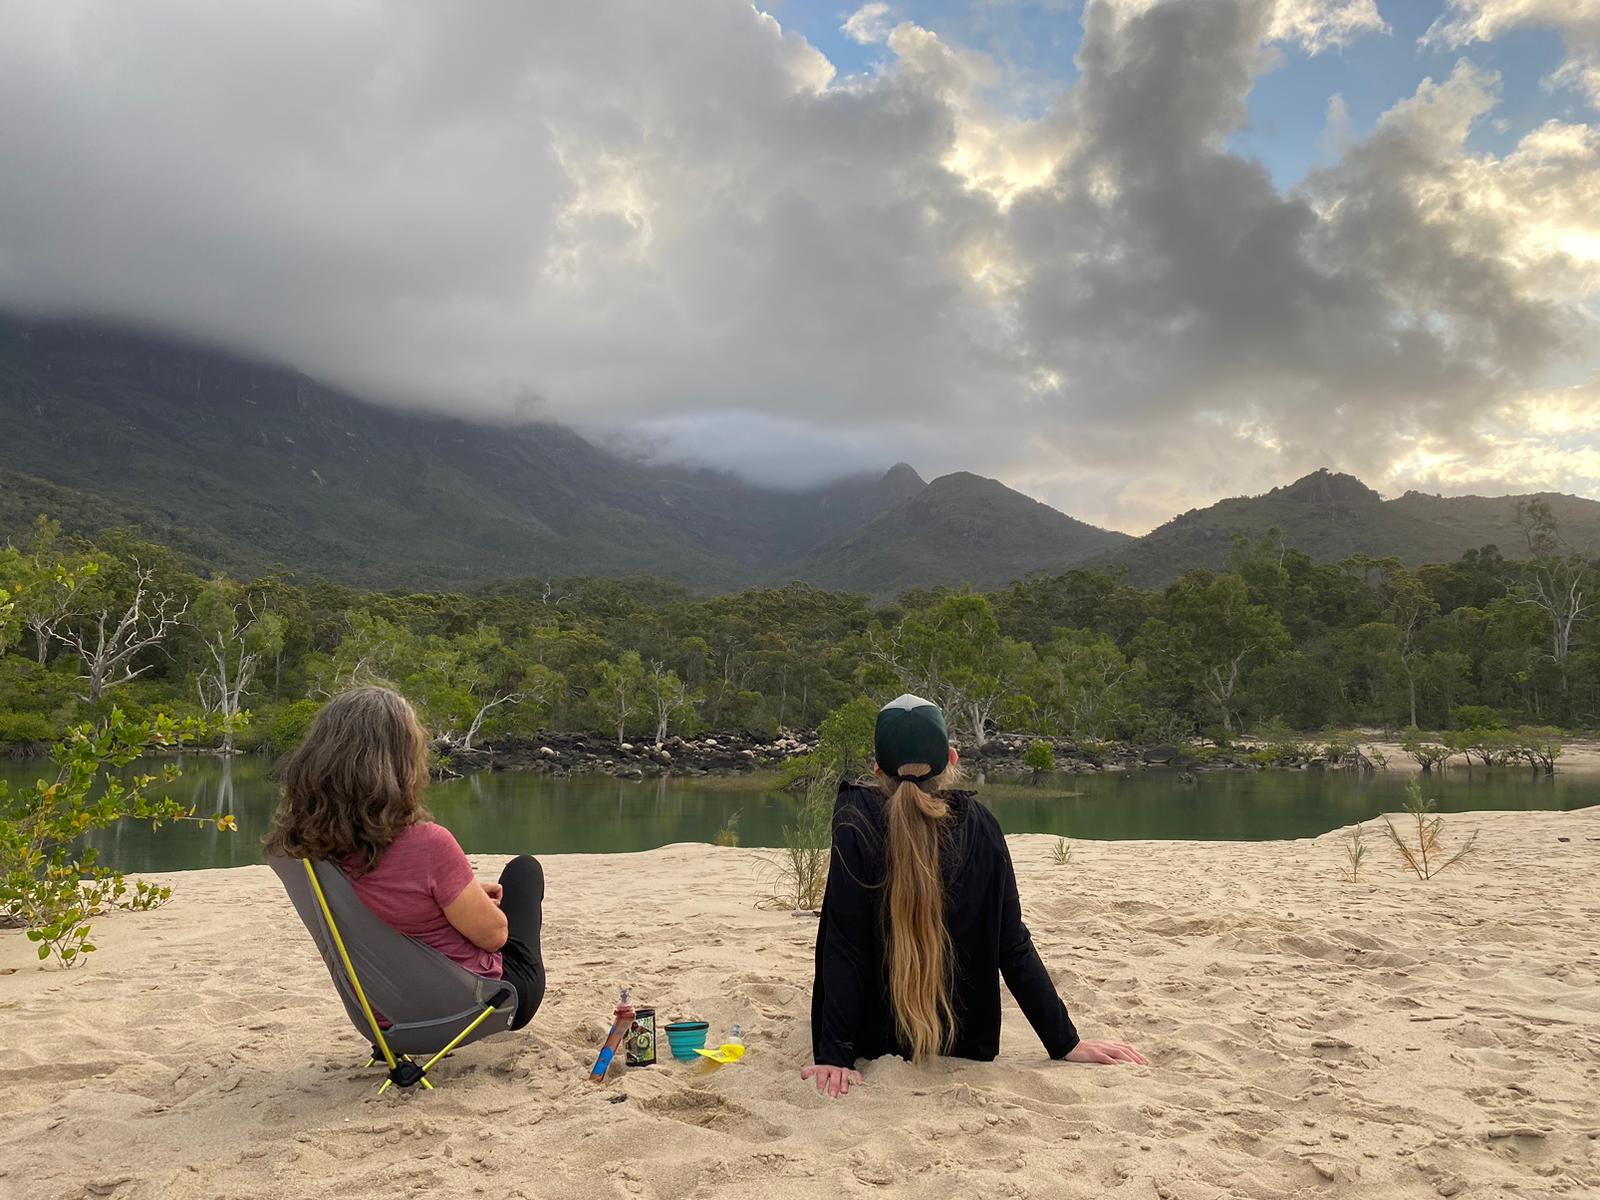
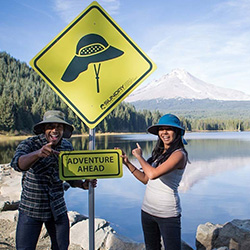
Spelling it out... 'WILD'
Half the fun was planning the trip and deciding what to bring. Below, I’ll go over everything I packed, what I should’ve packed and what I could have left behind.
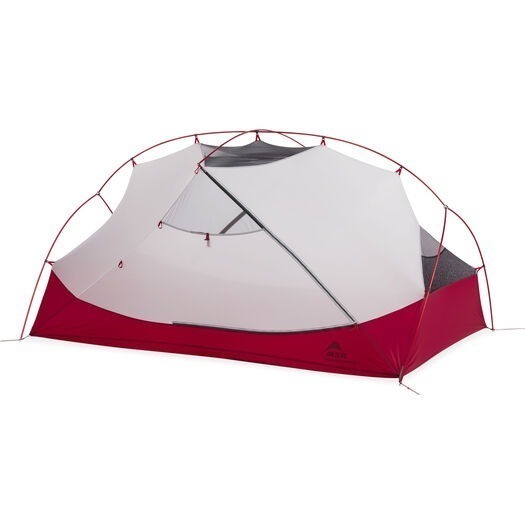
Due to the geography of Hinchinbrook Island, the weather can be very inclement. It can be beautiful and sunny on the mainland, but the high peaks on the island are always catching clouds causing it to rain a lot more on the island. It will pay off to have a good quality tent that can handle the heavy rain but also has great ventilation to get a cool breeze coming through. I used the MSR HubbaHubba 1-person tent that worked perfectly for this trip.
I also recommend a lightweight tarp, to create a communal dry spot for cooking, playing cards, drying clothes etc. while it’s raining. Being winter (August), seeing temperatures of 11 to 13 C overnight, and with me feeling cold quickly, I ended up bringing a Sea to Summit Spark sleeping bag, which was way too warm for this trip.
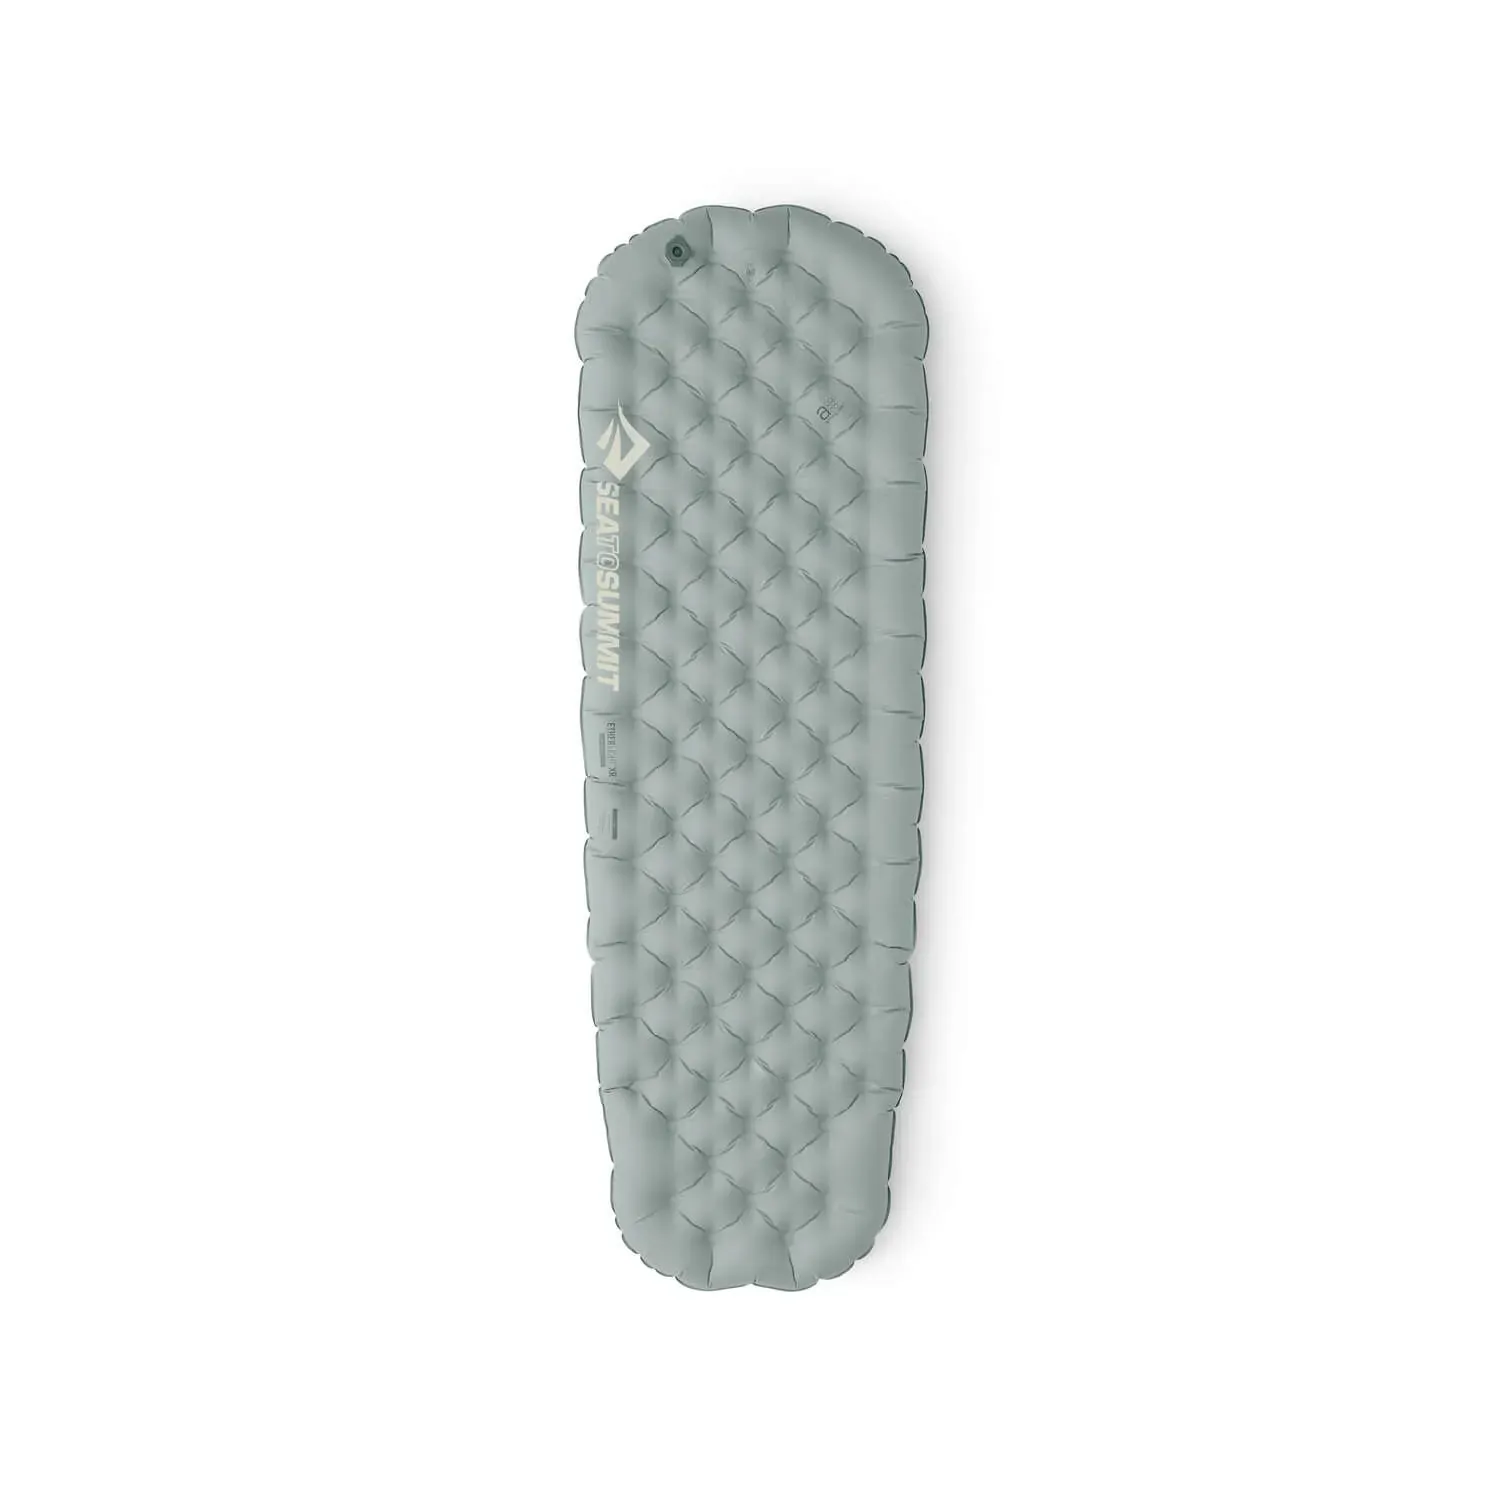
A sleeping bag liner would be enough for most of the year, while a thin summer sleeping bag would be sufficient for the coldest months. As for a sleeping pad, I bought the Sea to Summit Ether Light XT but this is now updated to the newer, better Sea To Summit Ether Light XR Sleeping Mat with an R-Value: 4.1 and 10 cm a comfy thickness of 10cm, which was perfect for this trip.
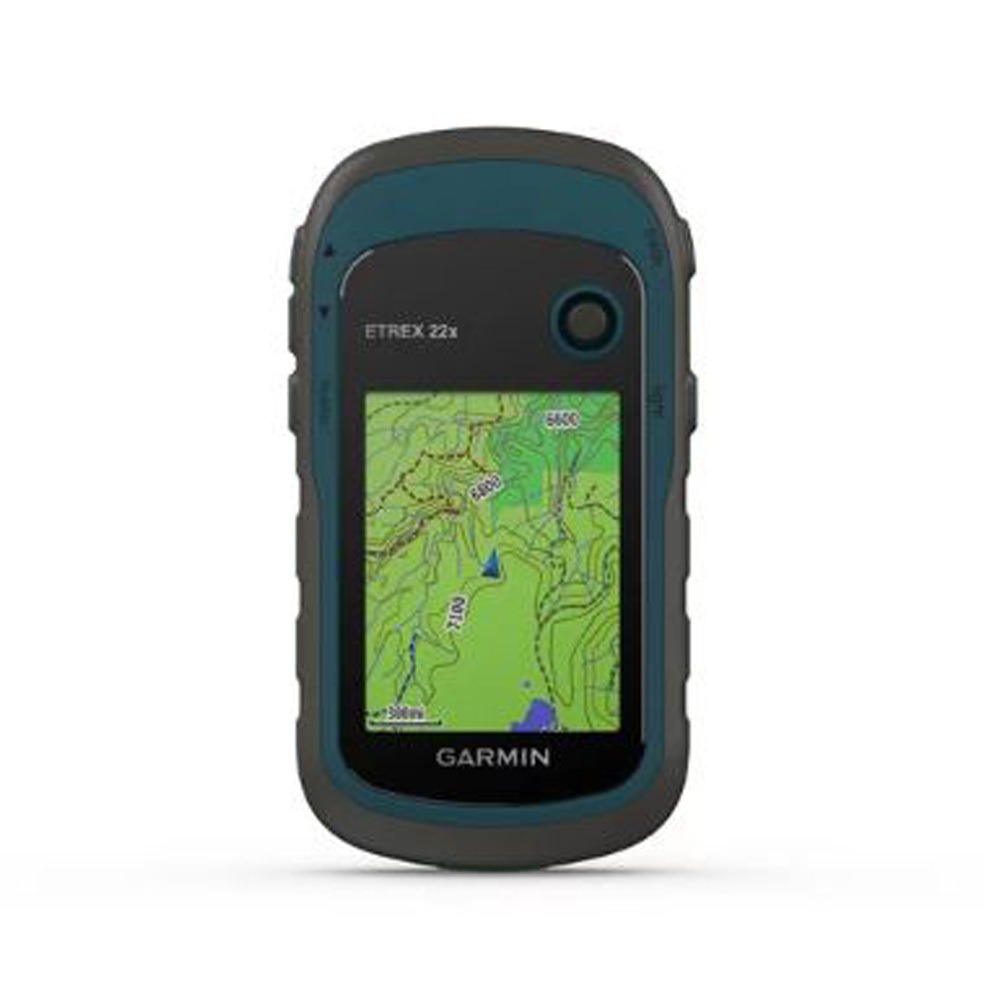
For navigation, I mostly used my phone, on which I had downloaded the trail. I used an offline trail app (FatMap is now closed down, AllTrails could be an alternativeative) to track our trail while having my phone on flight mode. The trail was quite easy to follow as there were arrows along the trail. However, the couple of times we missed an arrow it was great to have a backup ready to find our way back to the trail quickly. As a double backup, we had the Garmin eTrex 22 with the map and trail. I also carried a physical copy of the map and a compass as another backup. Lastly, Brad from Hinchinbrook Island Cruises supplied us with a basic map, on which he highlighted campsites, locations for phone reception and tricky river crossings, as well as a tide table.
Note: If flying or getting the train up, you can’t bring gas and Brad, the boat skipper, could get us all gas at an extra fee. I brought a liquid fuel stove (one from MSR) as you can grab kerosene to use at the hardware store in town.
When cooking my meals, I used my favourite little hiking stove, the MSR Pocket Rocket, and a Toaks titanium 750ml pot. If you book your island transfer with Hinchinbrook Island Cruises, you can order a gas canister with them as well, which is great for anyone flying in, like Lynne and I did. As a bit of luxury, I brought a plate and cutlery, rather than eating out of the packets of dehydrated meals. To clean up afterwards, I used Sea to Summit Wilderness Wash and a small Quick Dry Towel to clean up after dinner and had a drybag with 4 small biodegradable garbage bags (1 per day) to carry my rubbish. This way it was easy to hang it up high away from animals, keep any potential smells at bay and strap it on the outside of my pack when on the go.
.jpg)
MSR Pocket Rocket cooking up a storm on the trail
We booked Thorsborne for 4 nights and I always bring food for one extra night, so I had 5 dinner meals with me. This was a variation of Radix, Backcountry Cuisine and Campers Pantry. I also brought a bag of freeze-dried rice and a packet of couscous to bulk up my meals and make them a bit fancier.
I’m not a big breakfast eater, so I just had some dried fruit and Clif bars in the mornings. For lunch, I brought Miso soups, 2 side meals from Radix, a couple of Weka bars and a bag of mixed nuts.
For drinks, I brought a variety of teas, a tube of Recovery tablets and a couple of powder sachets from Pure and Tailwind. Finally, to enjoy a bit of luxury, a couple of freeze-dried desserts and 2 flasks, containing tawny and some tequila for trail margaritas were most appreciated by the rest of the crew.
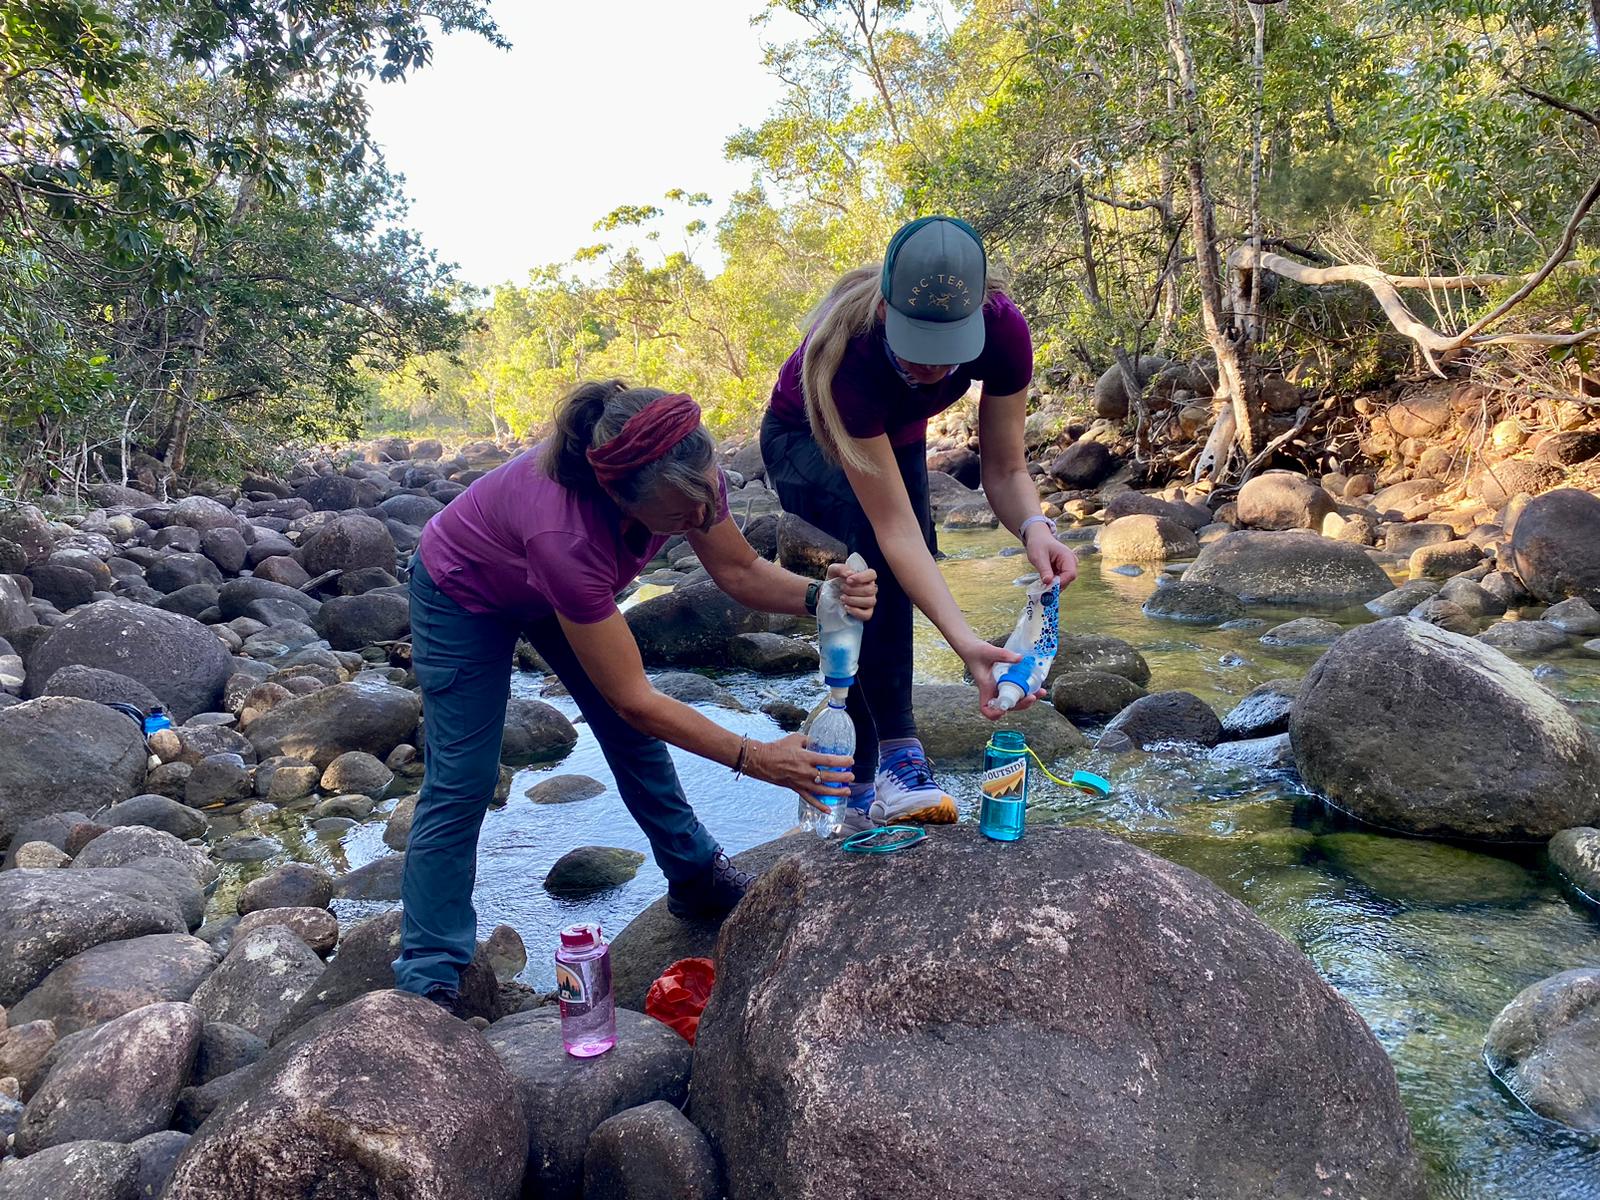
Lynne and Tash filtering water on the trail
When we did the Thorsborne there had been plenty of rainfall prior, which meant there was plenty of water available along the trail to fill up our water bottles. To filter my water, I used the Katadyn BeFree 600ml, as it’s easy to use, effective for the water on Hinchinbrook Island and it is very compact and lightweight. As for water containers, I always take at least 2 different containers for water, in case one leaks or accidentally rolls off a cliff. As I am pretty bad at drinking enough water and it can get pretty hot in Northern Queensland, I took a water bladder, so I could take regular zips while hiking. I also took a 1 litre Nalgene bottle, which carried my water for camp (cooking, tea etc) and a small Nalgene bottle for electrolytes and energy drinks.
.jpg)
Cocktails on the trail!
Due to the unpredictable weather conditions, proper rainwear is a must for Hinchinbrook Island. I used the Patagonia Granite Crest jacket and pants, which have a 3-layer construction but are still super lightweight. The jacket also has pit zips to dump heat when it gets too sweaty on the inside.
As for hiking bottoms, it was cool enough to be able to wear long pants and I ended up just bringing 2 pairs of hiking tights and 1 pair of shorts. For tops, I had 2 merino t-shirts, 1 long sleeve merino shirt, 1 singlet, 1 fleece and 1 lightweight down jacket (which I used twice, but didn’t really need). The island has some beautiful swimming spots, so don’t forget to pack swimwear.
Ready to roll, one morning at camp
This is a much-debated topic for the Hinchinbrook Island Thorsborne trail. The trail has a lot of variety and includes lots of uneven terrain, massive boulder fields, river crossings with slippery rocks and tree branches and mudflats to navigate.
I had 2 pairs of footwear:
I took a pair of lightweight mid-high waterproof boots as my main footwear which I used on the bigger 2 days, where I knew we didn't have too many water and mud flat crossing.
My second pair of footwear was a pair of lightweight, quick-drying trail runners, which I wore on the stretch from Banksia Bay to Zoe Bay where there are plenty of river crossings and mud flats to cross.
I always make sure that my second pair is something I could walk the whole trail on if needed, just in case something happened with my main pair of boots, like causing blisters, falling apart etc. As for socks I had 2 pairs of lightweight merino wool hiking socks and 1 pair of merino wool running socks.
To keep feeling human for the 5 days on the island, I carried the following in my toiletry bag:
As we had been advised about the many mosquitoes and sandflies on the island, I wanted to have all bases covered on this. I carried personal insect repellent, a long-sleeved shirt and head net. I also bought some Mosquito coils from Bunnings, which I could burn next to my tent or when we were cooking. The combination of this worked a treat.
For mosquitos I used Bug-grrr Off and if that didn't work I used Bushman. I personally don't like the chemicals, but it's the strongest, so I usually use this as a last resort.
I don’t usually hike with hiking poles, but after learning about the many river crossings and mudflats, I decided to take a pair and I’m glad I did. They were mostly strapped to my pack, but crossing rivers with slippery rocks and a big pack strapped on my back was so much easier and quicker with a pair of poles for balance. And even though it hadn’t rained too much in the lead up of our hike, the mud was still extremely slippery at times and the poles saved me from a few faceplants in the mud.
For lighting, I packed a 330-lumen rechargeable head torch and a solar-powered Luci Lantern, which I both used on a daily basis. I carried a power bank with a solar panel to charge my devices. Both the power bank and the Luci Lantern were strapped to the top of my pack during the day, giving me enough charge to keep everything charged during the trip.
To carry all my gear I used the 60L Gregory Deva, which was the perfect size. To keep everything dry in the rain, I used a variety of dry bags. I had separate dry bags for clothing, food, rubbish, sleep system, first aid kit and one for miscellaneous items.
As there were a couple of side trips along the trail and we also had an extra day of exploring planned, I brought my running vest as my small pack to carry a bit of water, a snack and the monocular. I chose my running vest as it’s easy to scrunch up into a small pocket of my main pack.
.jpg)
Keen to hit the Hinchinbrook Island trails? Grab your Thorsborne Packing list here! If you’re looking for more of a day-to-day trip report check out Jacinta Pink’s Thorsborne guide.
If you need any further help, don't hesitate to come in store to chat with our experts or shoot us a message online if you have any questions! We’ll see you outdoors. Share your adventures with us on Instagram at @wildearthaustralia and use the hashtag #MyWildEarth to be featured.
The best time to hike the Thorsborne Trail is usually from April to September, when the weather is cooler, drier, and generally more comfortable for multi-day hiking. The official trail season runs from 1 March to 31 December, but Queensland Parks says conditions are much tougher between October and March because of heat, humidity, and lower water availability. The trail is also closed from January to the end of February.
The Thorsborne Trail is not technically extreme, but it can feel tougher than the distance suggests. You are dealing with humidity, creek crossings, tides, rough sections, and self-sufficient camping, so it helps to come prepared and have some multi-day hiking experience. Queensland Parks describes some sections as rough and difficult to traverse.
This hike requires experience and planning, another group got evacced when we were there because they didn’t plan the tides and left camp late getting nearly stuck in the mangroves at high tide. Not for first timers (except for Tristan lol) or people that haven’t had to work around adverse weather when multi-day-ing. The side trips are also more steep and rocky/nasty than the main trail.
Yes. You need a camping permit to hike the Thorsborne Trail independently, and spots can be very competitive during peak season. Queensland Parks now uses a hiking season release system, with permits released in blocks on set dates.
For most hikers, trail runners make more sense. They dry faster after creek crossings, feel lighter in humid conditions, and are usually more comfortable once wet. Boots can still work if that is what you know and trust, but quick-drying footwear is a big plus on this trail.
A lot. Tides can affect when key crossings are safe and practical, so they should shape how you plan each day. This is one of those hikes where the tide table is part of your gear list, not just a nice extra.
Yes, but you should not rely on every source being full. Queensland Parks warns that water sources often dry up in the lead-up to the wet season, so it is important to carry enough water, treat what you collect, and plan carefully.
“I recall the boat skipper said we needed minimum 3L for the first day. Take into account one of the nicer but hard/steep side trips coming from north was before any normal stops for water so if plan to have water enough for a hard uphill plus the walk to campsite. Also, we got lucky but they do talk of having to hike quite far upcreek to grab water when the water is low, so enough kit to carry back water for drinking and cooking without multiple trips is a good idea.” - Ronan Cannop
Bad enough that you need to take them seriously. Food and toiletries should be packed carefully, anything scented should stay out of your tent, and campsite rat bars are there for a reason. A little care here can save your snacks, your pack, and potentially your shelter.
The trail is on Hinchinbrook Island, off the Queensland coast. Most hikers travel via Townsville or Cairns, drive to the mainland departure point near Cardwell or Lucinda, then take a boat transfer to the island. Because it is a point-to-point hike, transport needs to be organised at both ends.

More and more outdoor clothing now carries a UPF rating. What does this rating mean? Why should you care about sun protection clothing? We provide a quick summary followed by a more in-depth look from several leading dermatology experts.
The Thorsborne trail trip really started as a stroke of luck or multiple, at least for Tristan and me.

Are you planning your 2025 and looking for your next adventure a little closer to home? Australia and New Zealand are absolute adventure playgrounds with stunning landscapes and wild activities to suit every season.

Ultralight backpacking is basically the art of minimalism on the trails. It's about bringing less so you can hike without feeling like your pack is weighing you down. For some people, this feels more like freedom. For others… the trade-offs just aren’t wo


Using Afterpay you can pay for your order over 8 weeks. There's no interest or added fees* and nothing to pay today. Payment will be automatically taken from your debit or credit card in four equal payments each fortnight over 8 weeks, and you will receive your order immediately.
You simply need:
To use this service simply:
Approved AfterPay buyers will require the funds for the first payment to be available on their card at time of checkout, however the first payment won't be deducted for 14 days. First time AfterPay buyers will need to make the first instalment payment at the time of their purchase.
If you wish to return your goods you can choose to receive an exchange, or the Afterpay payment plan can be cancelled before the first payment at no charge. *If you fail to have sufficient funds available for AfterPay to automatically deduct payment on due instalment dates you will be charged a late fee of $10, and if the instalment payment remains overdue, an additional $7 will be charged one week later.
With AfterPay, there's no waiting and we'll ship out your order immediately as normal.

When you want to go now, sometimes it's handy to pay later. That's why, we offer interest free payment plans from two of Australia's favourite Buy now, Pay later services.