Total Items: 0
Sub Total: $0.00


Wild Earth gear specialists Lynne and Tash share practical, first-hand advice on planning, packing and preparing for your first multi-day hike in Australia.
Multi-day hiking can feel like a lot when you’re starting out. You’ve got the backpack, the food, the weather, the gear, your fitness, and then the small matter of carrying it all for days at a time. But one of the biggest things we’ve learned is that you don’t need to have everything perfect before you start!
In this guide, we share what we have learned from our time spent hiking in Australia and overseas, including practical advice on choosing a trail, preparing your body, packing your gear and deciding what you really need for your trip. Our goal is to demystify multi-day hiking, whether you are planning your first overnight walk or something more.
Table of Contents
We both work at Wild Earth’s Burleigh Heads store and have spent years helping hikers choose and fit gear for everything from local overnighters to international treks. We have also completed several hikes together, including Gibraltar-Washpool, the Thorsborne Trail on Hinchinbrook Island and the Gidjuum Gulganyi Walk in northern New South Wales.
Lynne came to hiking much later in life, starting in her early 50s. All her biggest hikes have been done in the last 10 years, including the Overland Track, Jatbula Trail, Walls of Jerusalem, the Camino Francés and Poon Hill Trek.
Tash’s introduction to self-supported travel began much earlier. She grew up bikepacking first from when she was only about seven years old. Hailing from the Netherlands, her hiking journey expanded to the French Alps, Cyprus, Ladakh and trails across Australia.
Our backgrounds are different, but our biggest shared insight is that you don’t need to be an expert to have a great time! You just need to set yourself up for success with a realistic first trip, suitable preparation and an open mind.
Prefer to watch our in depth workshop? This guide is based on our Multi-Day Hiking Info Night at Wild Earth Burleigh. You can watch the full workshop below, then use this article as a practical reference.
If you’re new to multi-day hiking, start with something that feels manageable rather than trying to prove a point over long distances.
Ideally, you start out with about 10 to 15 km max on a day and lower your expectations because you move slowly with a full pack, especially on uneven ground, through mud, creek crossings or steep sections. That's exactly how Lynne helped her cousin Sharon get into multi-day hiking. They started with one night at a campground, then moved up to two days on the Sunshine Coast Hinterland Great Walk and within a few weeks, Sharon joined them on a four-day hike in northern New South Wales.
Just take little bites and once you’ve worked out how to set up your tent, inflate your mat and use your stove, the world’s your oyster!
For a first trip, we also recommend keeping it short. Ideally, just one night would be best to start with because if things go wrong, it’s only one night and it gives you a chance to work out your gear without committing to several days. For that, a circuit is often the easiest option because you finish back at your car.
End-to-end hikes need a bit more planning…We learned that the hard way on the Brisbane Valley Rail Trail. After three days and around 60 km, we reached the finish only to realise the keys to the car were waiting for us back in the other car where we started!
It’s a pretty funny story now, but it’s a good reminder to think about the big picture, the whole trip.. not just the hiking!
The Wild Earth Team on their Multi-Day Thorsborne Trail Adventure
Check the weather conditions because they can completely change a trail. We look at typical temperatures, rainfall, water availability and whether there are seasonal hazards. The time of year also affects the gear we’ll need to carry, which can make the same walk feel very different.
Think about how many days you actually want to be out there. For example, a four-day hike can be a very different commitment from a week or more on the trail and it’s worth checking whether the walk is end-to-end or a circuit too. An end-to-end hike usually means organising transport at one or both ends, while a circuit can make the logistics much simpler.
Remoteness is another big thing to take into account. For example, how far away will we be from roads or help, and are we comfortable with that?
For Lynne, that remoteness is part of the attraction and the reason she loves multi-day hiking is because you get to be in places where no roads can take you, but at the other end of the spectrum, popular walks can require a lot more forward planning because campsites, huts, permits and transport might need to be booked well ahead of time.
Finally, we think about the people coming with us, for example, we recently took a 7 person group on the new four-day Gidjuum Gulganyi Walk in northern New South Wales. Yes, the group size mattered, but so does the experience of the least confident person in that group. Personally, we would rather choose a walk everyone can enjoy as a group than choose something too ambitious and have some people feeling out of their depth.
You don’t need decades of experience to enjoy hiking, you just need to choose a hike that matches where you are right now, then build your experience and confidence from there.
For a self-supported multi-day hike, we often use packs around 60 litres, but there’s no perfect size. It really depends on how bulky your tent, sleeping bag and other gear are.
Just as important as capacity is the fit. Make sure that you get the pack fitted and we recommend to try different back systems, sizes and torso adjustments. A slightly heavier pack that fits properly can feel far better than an ultralight pack that lacks comfy padding and support.
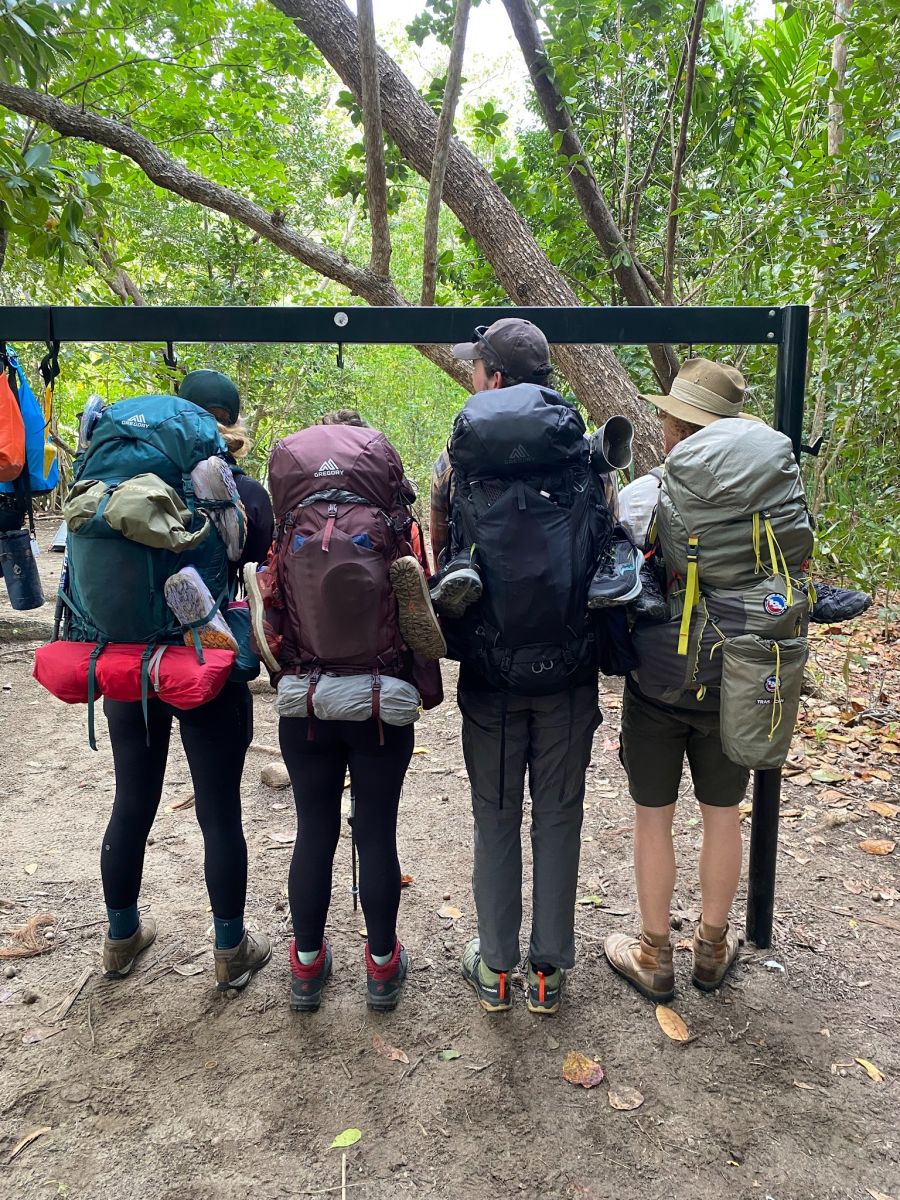
Wild Earth Team on the Thorsborne Trail
For clothing, we both follow the simple rule simple of no cotton and no denim.
Instead opting to recommend merino or lightweight quick-drying fabrics because they manage moisture well and are easier to wear for several days. Layering is the key here so, start with a breathable hiking shirt, add a warm mid-layer, then carry thermals and a proper waterproof jacket if conditions could turn cold or wet.
For colder trips, we also pack a warm jacket, beanie and gloves. The main rule is to choose clothing for the possible conditions you will find on trail.
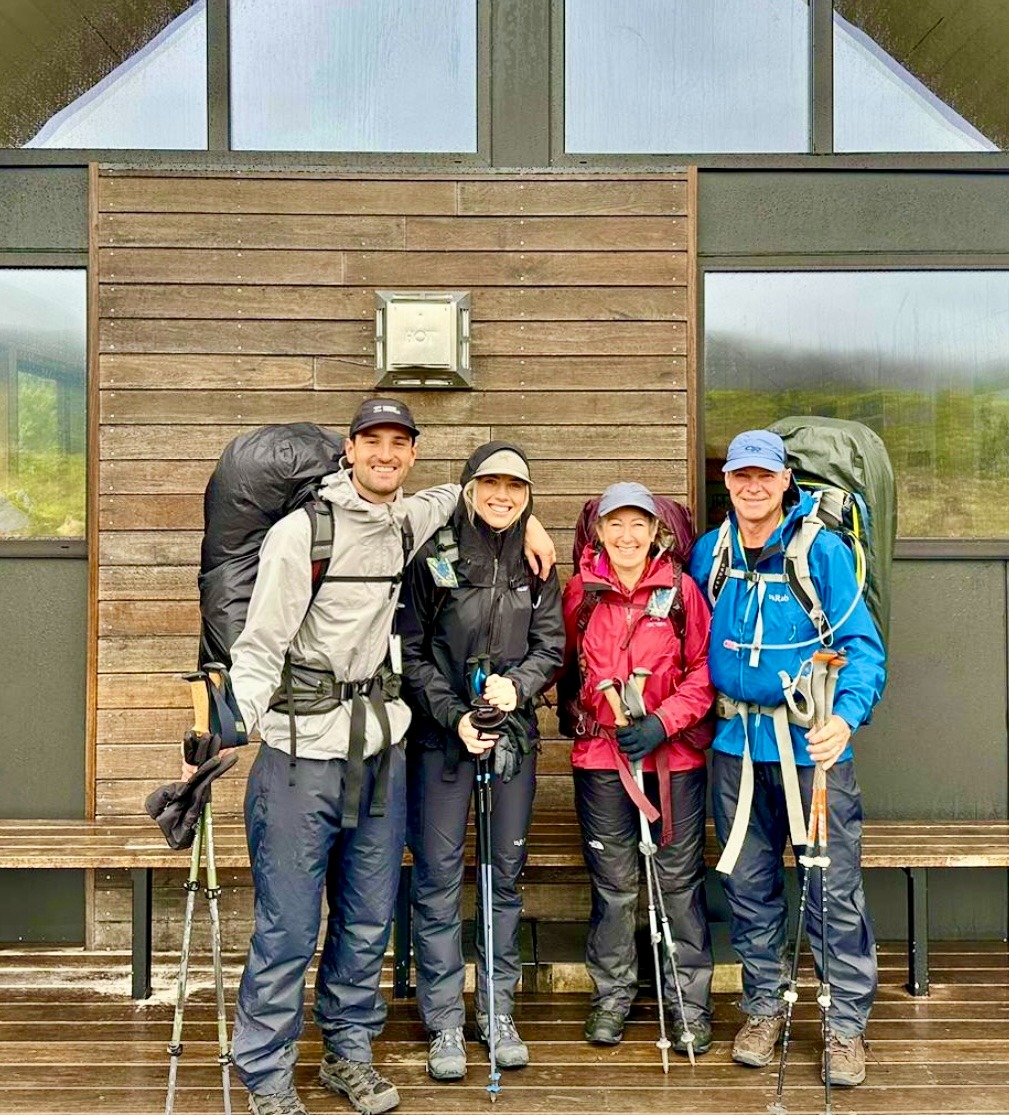
Wet Weather Hiking
Footwear is a personal choice, and the trail makes a big difference. For rough, muddy or rocky terrain, we usually prefer a sturdy hiking boot. A really sturdy boot can offer more protection, especially when the trail is uneven or you are carrying a heavier pack.
Trail running shoes can work well too, particularly in warmer conditions or where you expect lots of creek crossings. Non-waterproof trail runners allow water to drain out easily after a crossing and tend to dry much faster.
We also like carrying camp shoes that could double as backup footwear if something goes wrong with our main pair.
For food, we usually keep things simple and practical with dehydrated meals because they’re easy to carry, and we always recommend taking one extra day’s food in case something goes wrong (you never know when you might need that backup)!
Snacks matter too, stuff like dried fruit, nuts, jerky, bars and a few treats can make a long day much better and as for water, we both do things differently. Tash prefers a bladder because it helps her drink consistently, while Lynne carries two one-litre bottles.
A reliable filter or purifier should be part of your plan wherever water quality is uncertain.
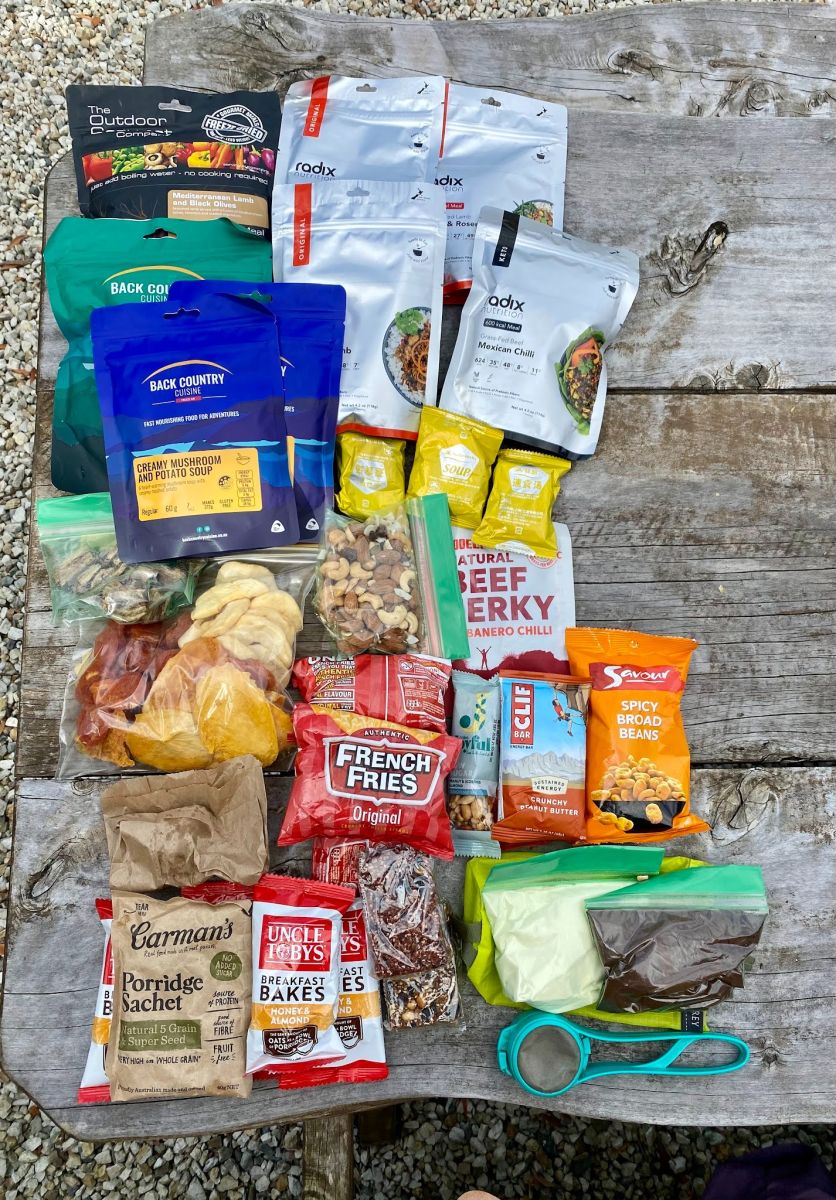
Camp Favourites Flatlay
For cooking, we try to keep the setup as light and simple as possible. On most trips, that means a small hiking stove, a lightweight pot, a spoon and dehydrated meals that only need hot water.
Most of us who are kind of lazy… or just practical and sensible… take dehydrated meals.
You can absolutely cook more elaborate food, but remember that every ingredient, pot and bit of fuel has to be carried. On one trip, Tristan turned up with a full Trangia setup, fuel, noodles, a carrot and a one-kilo sweet potato, while the rest of the group had compact dehydrated meals.
There's no wrong way to eat on trail, but weight can add up quickly.
Note: check how much fuel you will realistically need and make sure you know how to use the stove safely before you reach camp.
These days, we’ll usually carry a GPS device or use a watch with the trail downloaded onto it.
Always make sure you learn how to use it and make sure you’ve got all the maps downloaded that you need, because you can’t figure it out once you’re on the trails. We still like having a backup map, because anything electronic relies on battery life. Mark important points before you go too like water sources, campsites, steep sections and crossings.
And if you’re doing a trail that is on the beach, you need to have the tide tables as well so do your research before you leave, and know how to use whatever navigation system you’re carrying.
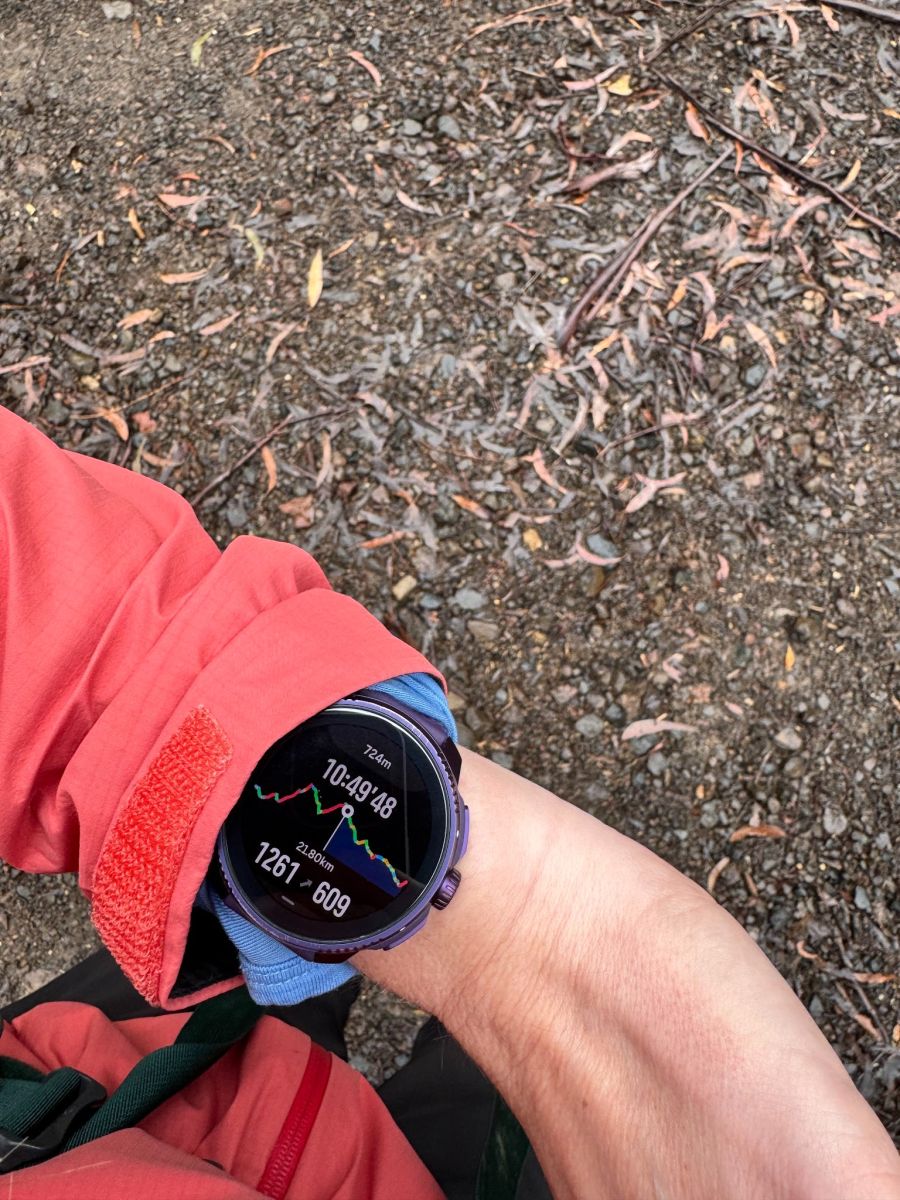
Field testing our GPS watches
For your shelter, think about how much room you’ll actually want at the end of a long day. A one-person tent will usually save weight, but if it’s really bad weather, it can be nice to have just a slightly bigger tent. As a general rule, we try to keep a hiking tent under about 2 kg.
For sleeping bags, we both prefer down because it’s just so much lighter weight and more compact, though a synthetic sleeping bag can be a good option in warmer or wetter conditions.
A sleeping mat is just as important because if I have a really good sleep at night, I’m going to be way better at carrying all that weight.
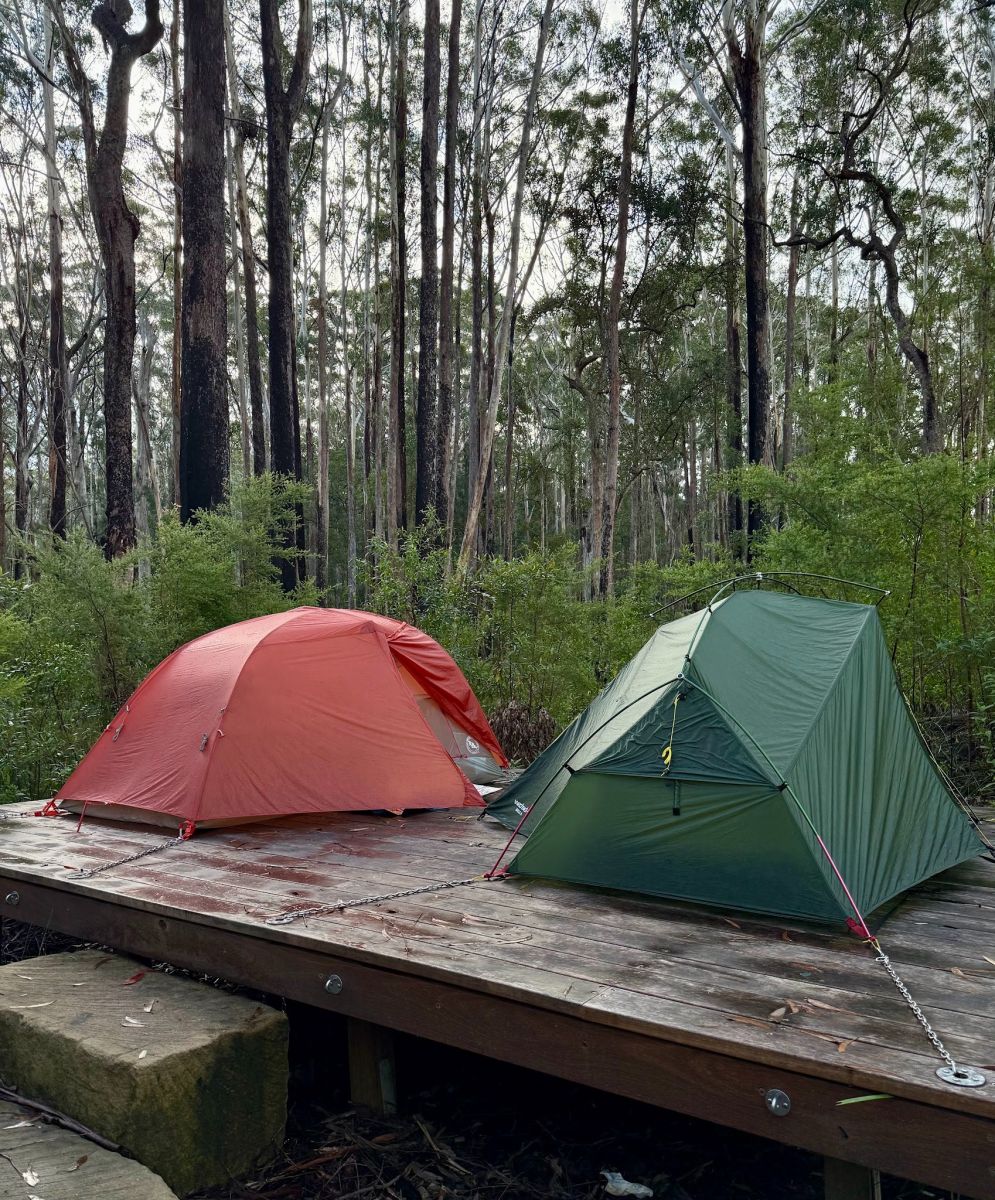
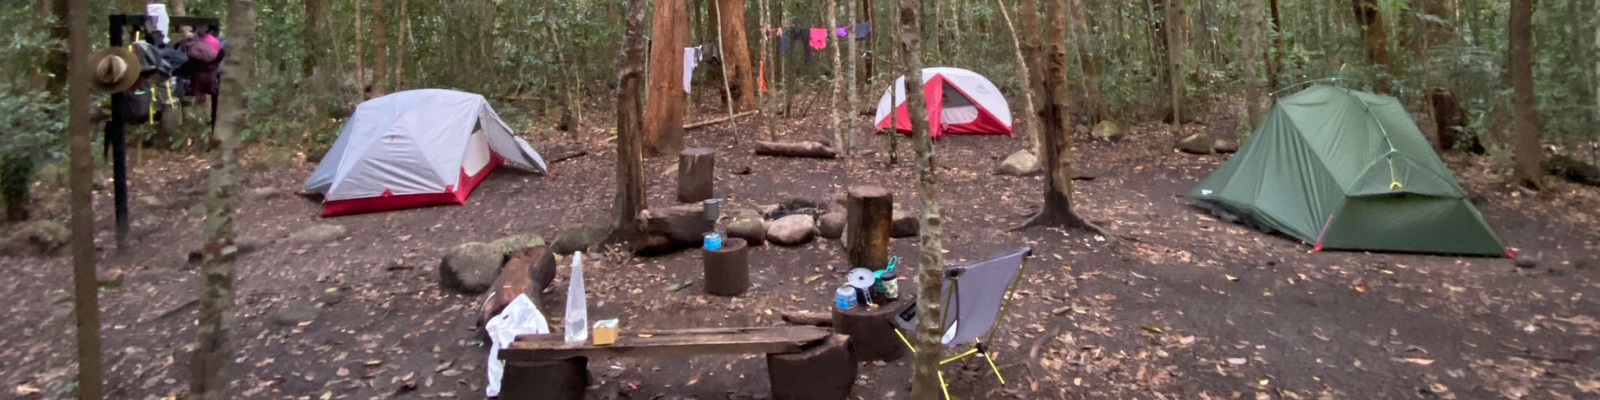
Campsite set up on a multi-day hike
For hygiene, we keep it simple with biodegradable soap or wipes, toilet paper, hand sanitiser and a lightweight quick-dry towel.
If there are no toilets, you may also need something to dig a proper hole. Lynne uses a sand peg that doubles as her pooper scooper and even keeps electrical tape wrapped around it for emergencies.
The big thing is to check the rules before you go. Make sure you research whether you need to carry out everything because some national parks require you to pack out all human waste, so that is something you definitely want to know before you hit the trail.
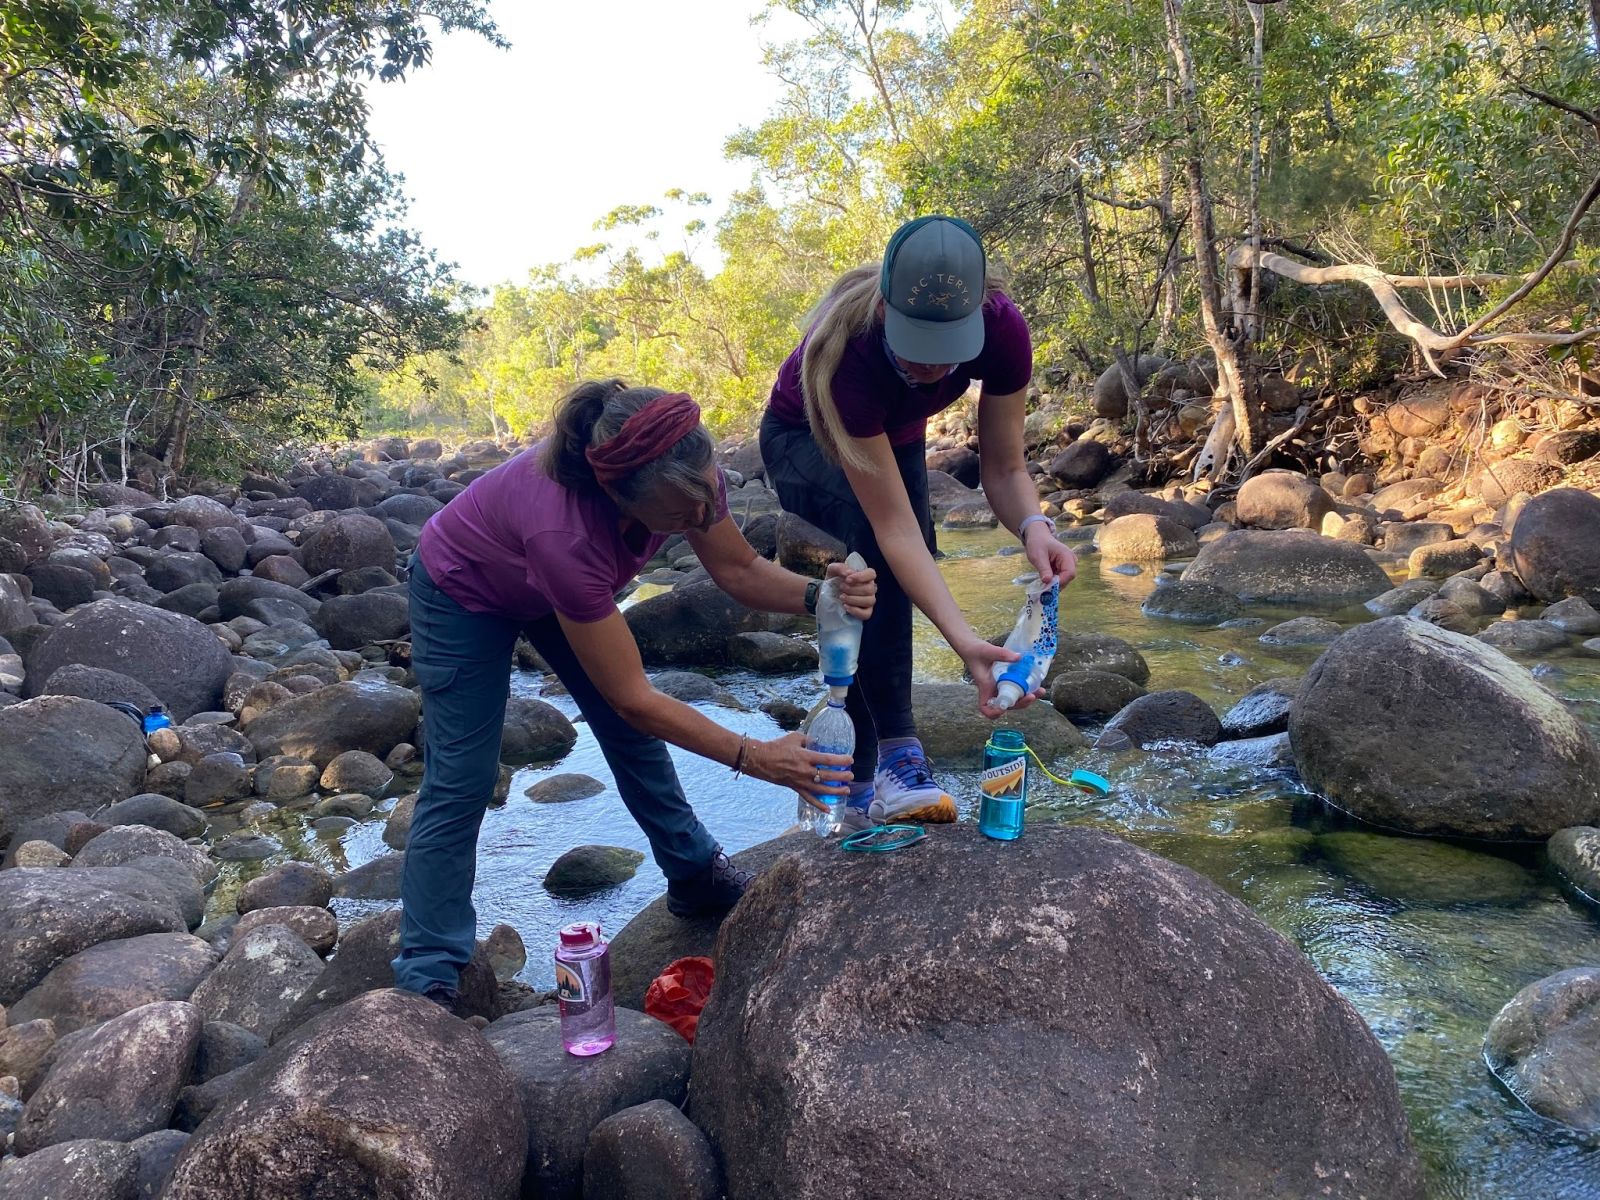
Tash and Lynne Filtering Water on the Trail
Safety starts before you leave home. What this looks like for us, is reviewing how remote the trail is, what the weather could do, where the exits are and how quickly we could get help if something went wrong.
There’s a big difference between doing a hike where you’re near fire trails, phone reception and all that and being somewhere like Hinchinbrook Island, where you could be there longer than planned if transport falls through!
We carry first aid, keep offline maps downloaded and try to preserve phone battery for emergencies. Weather matters too because if you’re heading somewhere colder or more exposed, there’s a lot of extra emergency gear and other things you need to think about again.
Ideally, at the end of the hike, you’ll be saying, ‘All right, what hike are we going to do next?’ instead of, ‘God, I survived that. I’m glad that’s over... Never again.
Always make sure you learn how to use your tech and how to check battery life before you go. Anything technical uses battery life so ask yourself what happens when you lose your battery life? We try to save the phone for emergencies and photos. A power bank, charging cables and head torch should also be checked and fully charged before you leave.
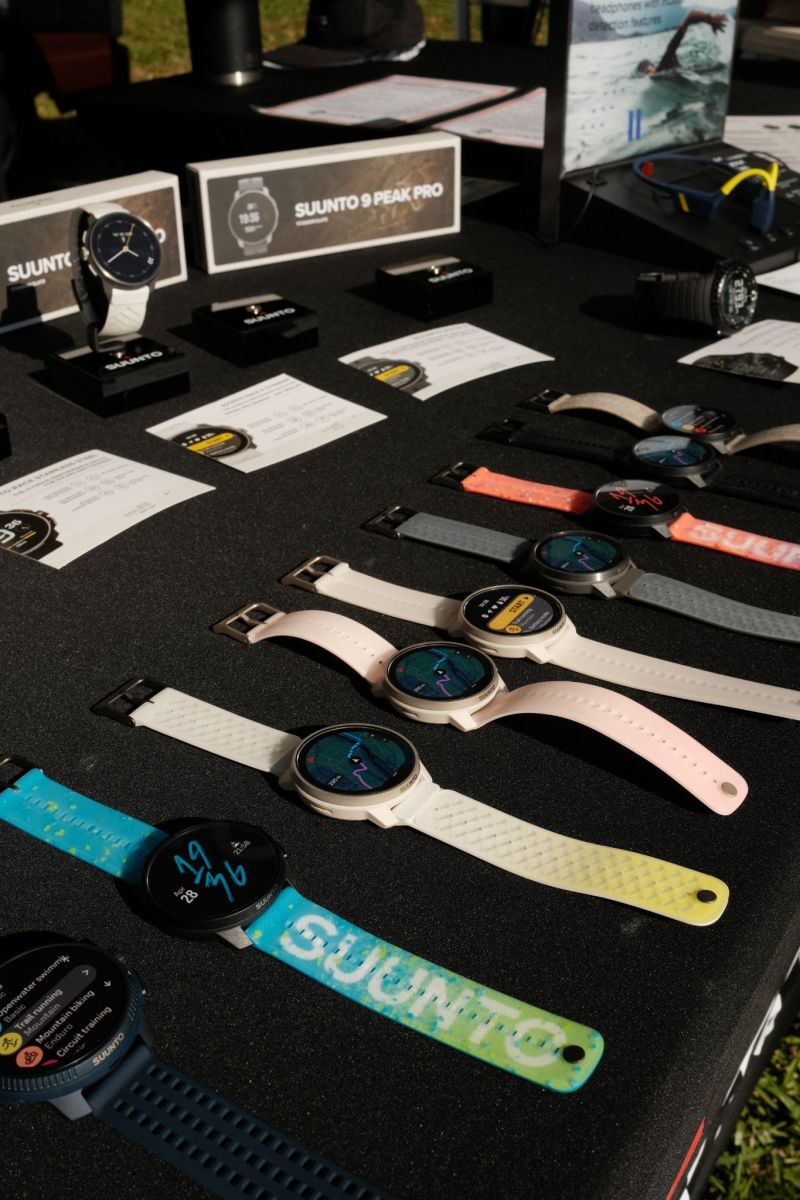
GPS Watches on Display at Wild Earth
A few small extras can make life on the trail much easier, like cash for example. We always carry some, even when we think we won’t need it.
A lightweight daypack is handy for side trips, and we also carry a small repair kit. Tash makes sure she has extra guy ropes, repair patches, extra pegs and some spare cord so she can fix things on the go. Lynne also carries electrical tape wrapped around her sand peg (which is sort of one thing, three purposes if need be!).
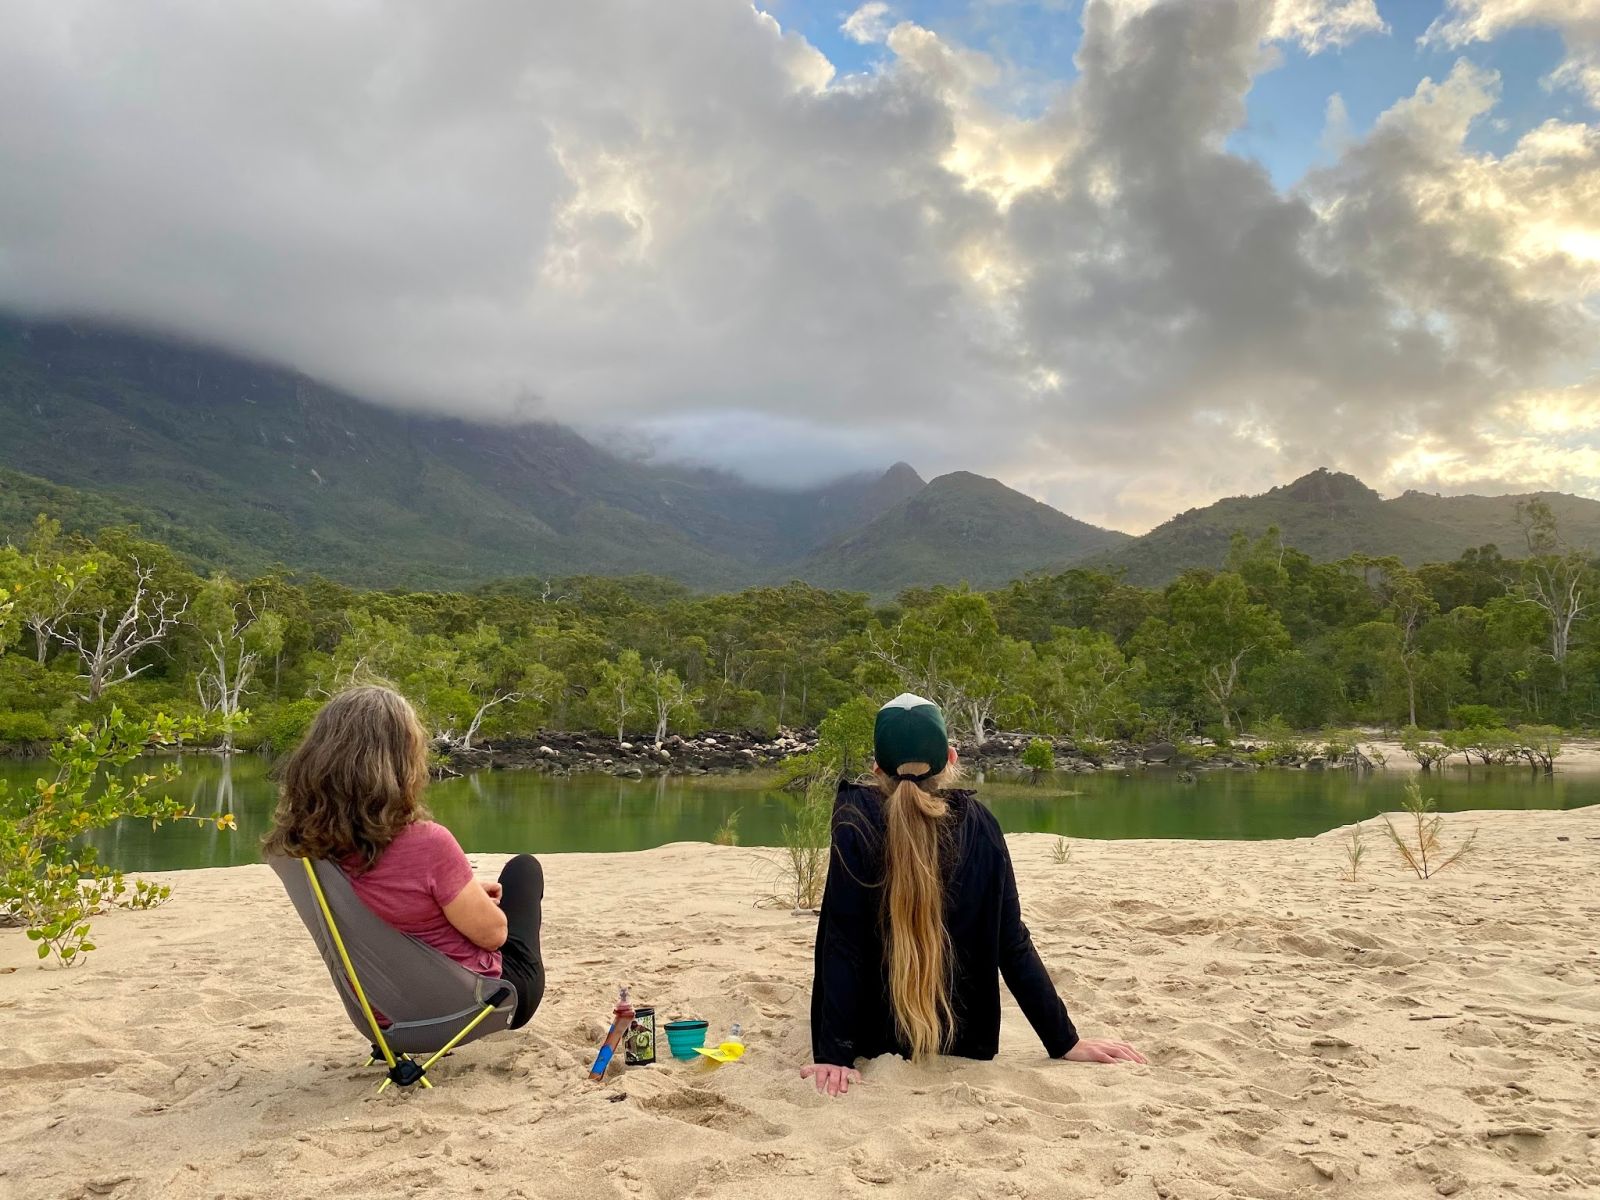
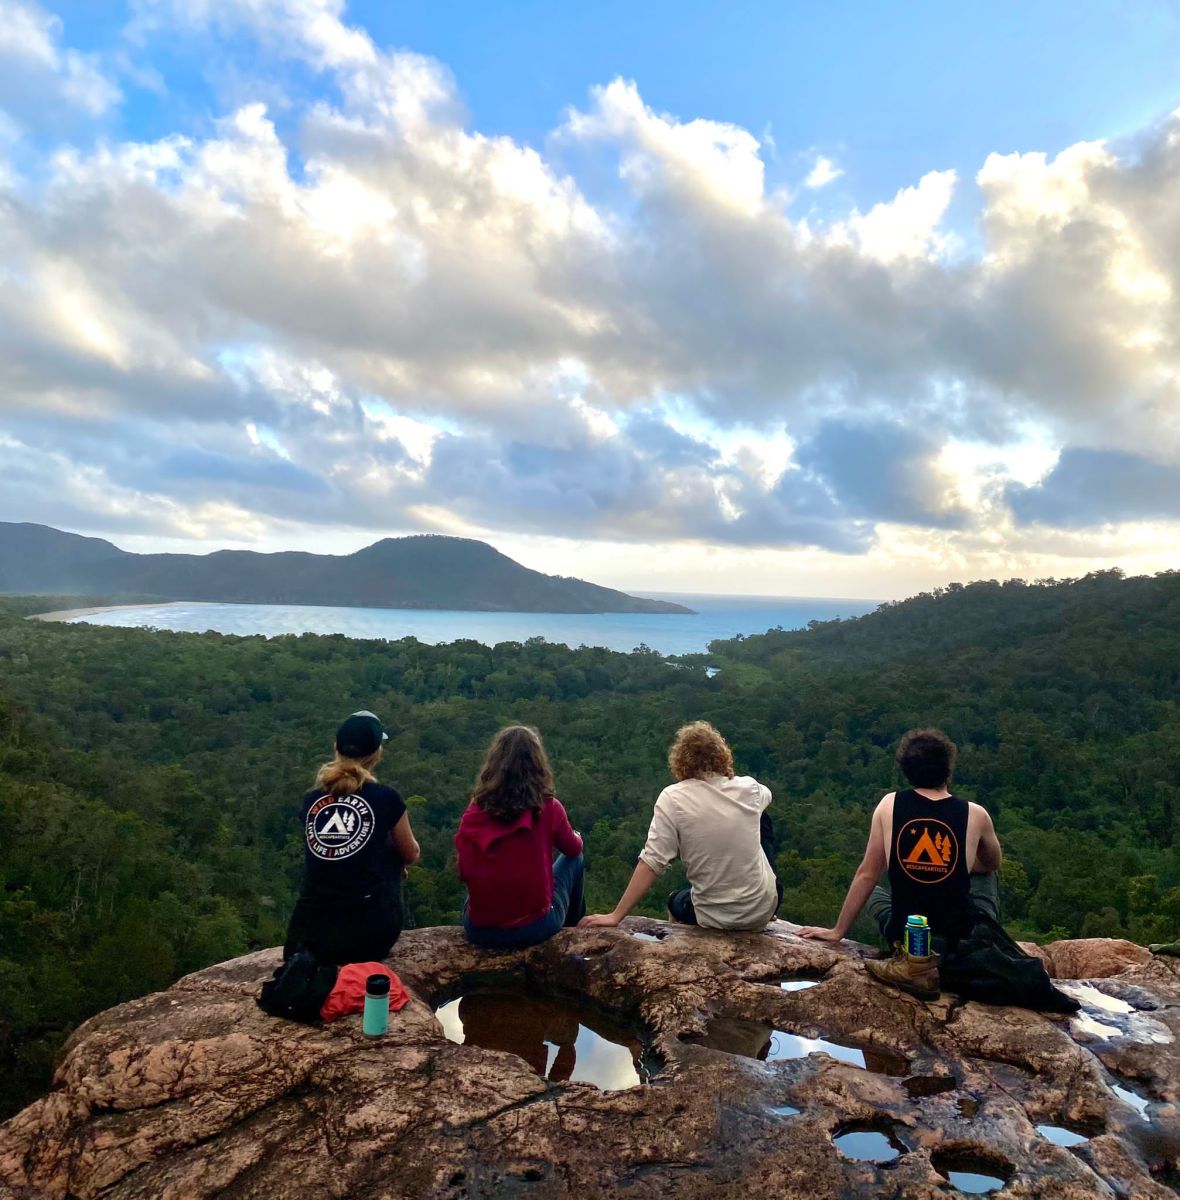
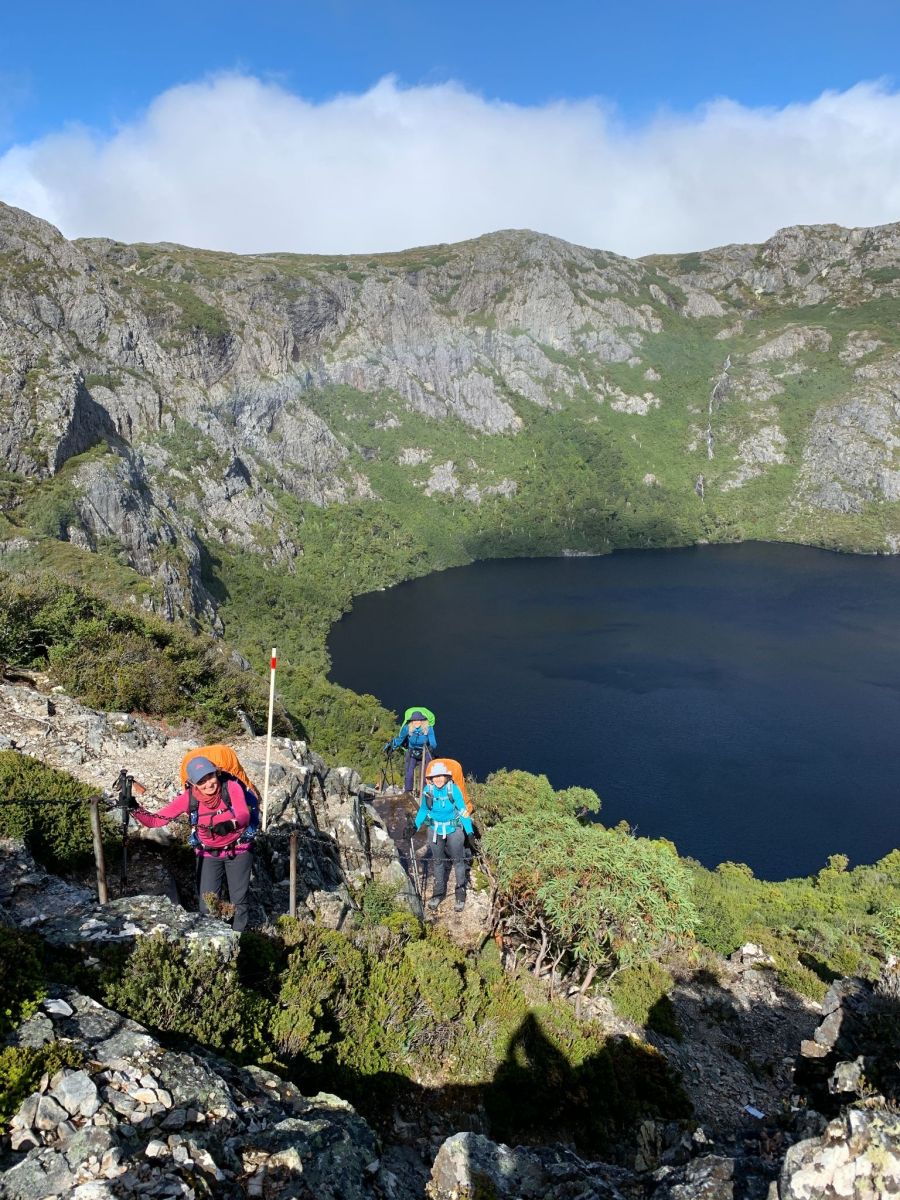
Enjoying the views on the Thorsborne Trail
We like to keep packing simple and organised... really we’re just the queens of dry bags! We use different colours for clothes, food, first aid and electronics. This makes everything much easier to find and, more importantly, keeps it dry.
| Where to Pack | What to Pack |
|---|---|
| Bottom | Soft, less-used items such as your sleeping bag |
| Middle | Heavy items packed close to your back |
| Top | Frequently used items you want easy access to |
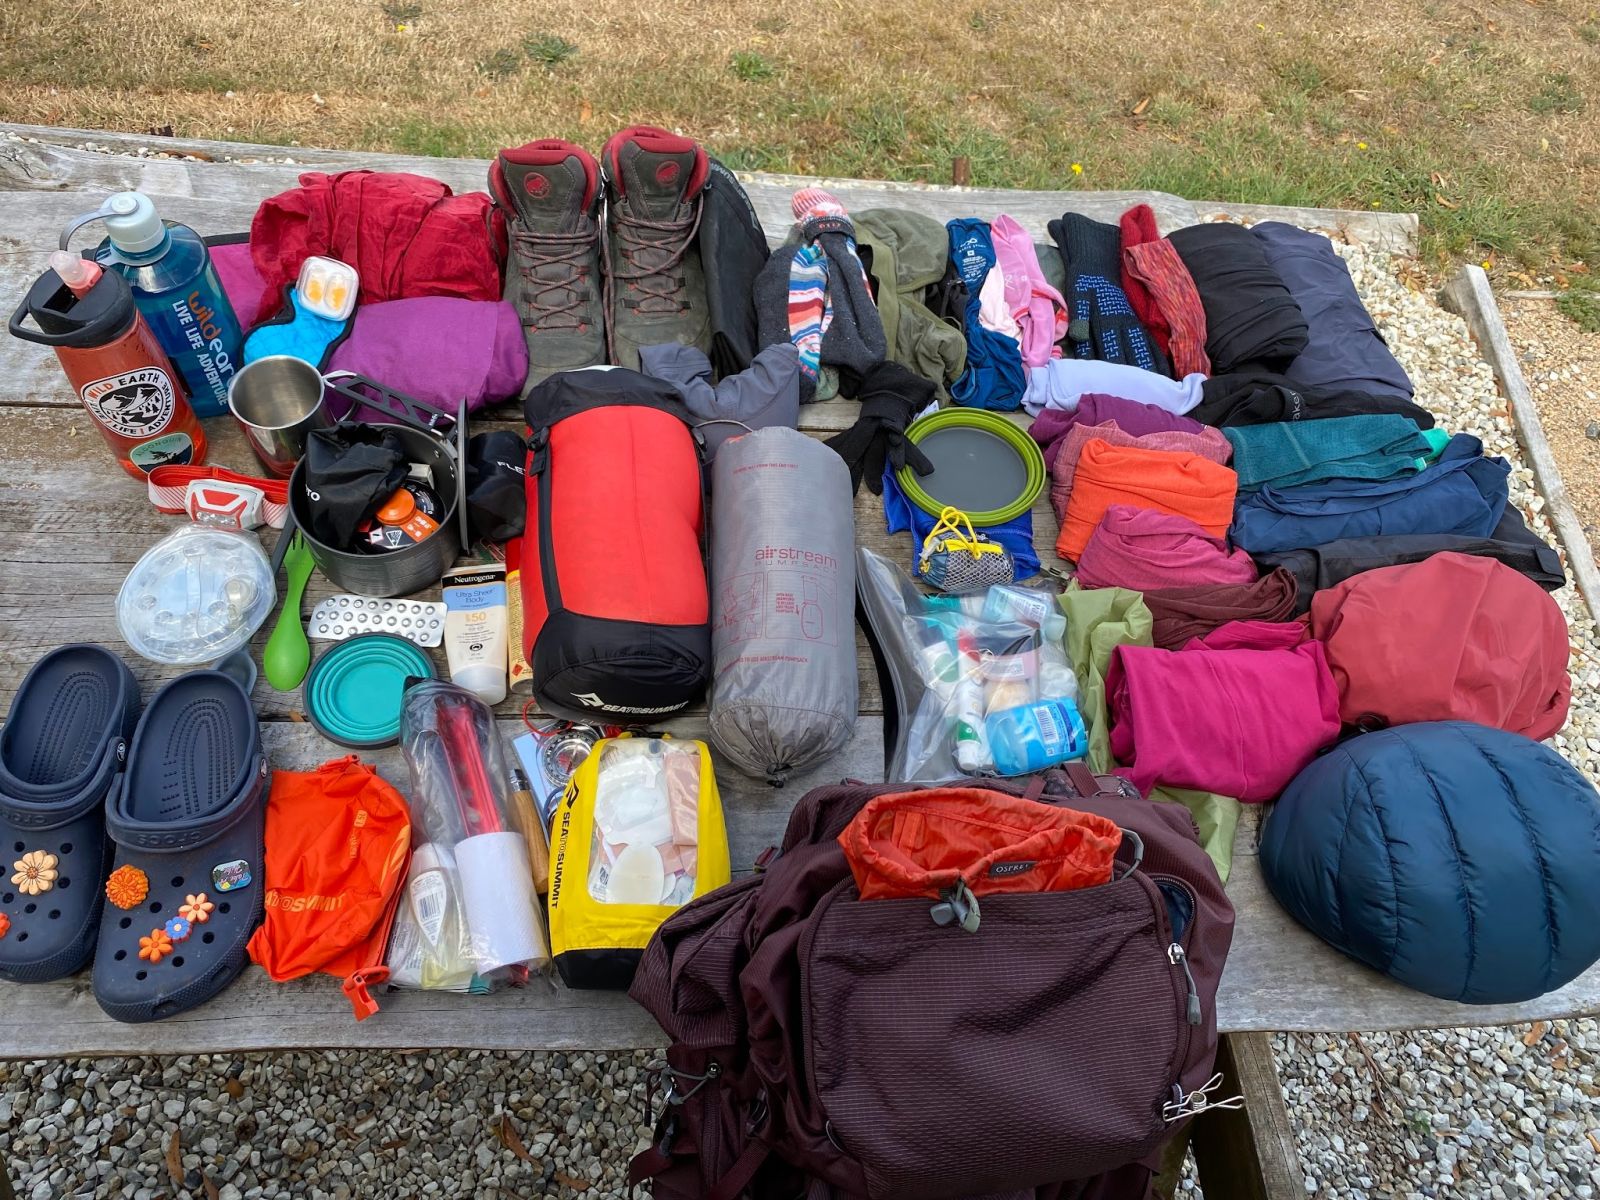
A photo of Lynne's hiking kit
Lynne puts her sleeping bag in the bottom of the pack, ideally inside a dry bag rather than relying on a compression sack to keep it waterproof. Her sleeping bag, sleeping bag liner and all things to do with sleep, pillow, go in the same dry bag. Whereas Tash prefers a compression dry bag for the sleeping bag and then the sleeping mat and pillow are separate.
We both agree to keep the gear you’ll need during the day easier to reach, and separate your tent poles from the tent body if it helps everything pack down smaller (it usually does).
The main packing strategy is to keep your load balanced, your critical gear dry and the things you need most often at the top with easy access.
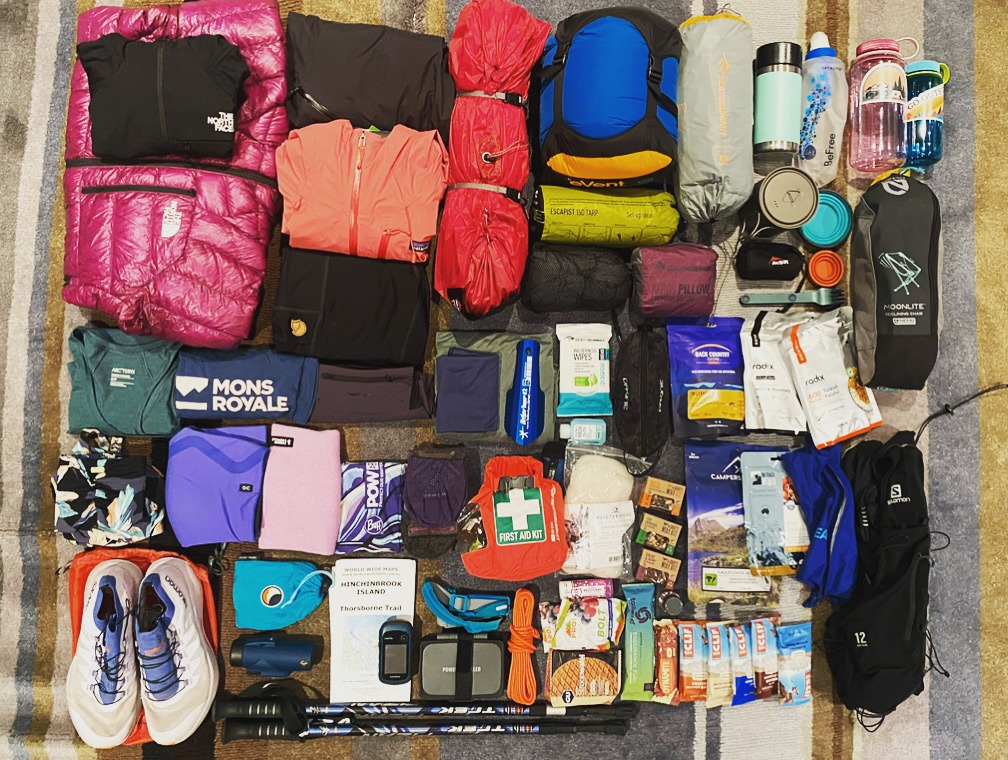
A photo of Tash's hiking kit
Not sure what gear you need for your adventure? Chat with our friendly team of Outdoor Gear Specialists in-store or online today, and don’t forget to share your adventures with us on Instagram by tagging @wildearthaustralia in your next post.
We’d keep your first one simple with about 10 to 15 km max on a day and, ideally, just one night. A short overnight gives you enough time to learn what carrying a full pack feels like, set up camp, cook, sleep in your gear and pack everything again the next morning. If something doesn’t work, it’s only one night. Once you’re comfortable, add another night or a little more distance.
There isn’t one number that works for everyone because your pack weight depends on the trail, weather, food, water and how bulky your gear is.
The bigger lesson we’ve learned over the years is that lighter isn’t automatically more comfortable. Lynne carried a lighter pack on her first Overland Track and said, 'My hips were smashed'. On her second trip she used a heavier pack with better support and never missed a beat. Fit the pack to your body first, then look for sensible places to save weight.
For our fully self-supported trips, we generally use packs around 60 litres. But as we say in the workshop, it’s really hard to advise you because we don’t know how big your gear is.
A compact tent and sleeping bag can mean a smaller pack. Bulkier or more affordable gear often takes up more room. For hut-to-hut trips, around 50 litres can often be enough because you may not need a tent or full cooking setup. For luggage-transfer walks, a 20-30 litre daypack may be all you need.
Both can work but the trail should help make the decision. For rocky, muddy or rough terrain with a heavier pack, we generally like the protection of a sturdy hiking boot. In warmer conditions or on trails with frequent water crossings, Non-waterproof trail runners allow water to drain out easily after a crossing and tend to dry much faster. Whatever you choose, make sure it fits your feet and don’t buy footwear immediately before your trip and hope it will work out on the trail.
It depends entirely on where your next reliable water source is. Lynne usually carries two one-litre bottles, while Tash prefers a hydration bladder because having the drinking tube in front of her means she takes more regular sips.
The important part is researching water before you leave. Know where you expect to refill, how much you need between sources and whether the water must be filtered or purified. We also like carrying a collapsible extra bottle when a trail has longer dry sections.
If the water source isn’t confirmed as safe to drink, we filter it. On many of our Australian multi-day hikes we use a Katadyn filter, while other people in our groups use different filtration or purification systems.
Don’t just carry a filter because it’s on a gear list. Test it at home and understand what it does and doesn’t remove before relying on it in the field.
We normally plan our meals and snacks for each day and then carry one extra day of food. As Lynne says, You never know. A delay, damaged food, unexpected weather or another hiker in trouble can quickly change your plans. You also don’t have to live entirely on joyless hiking food. Dried fruit, nuts, jerky and bars work well during the day, but bring something you genuinely look forward to eating.
Tash’s philosophy is probably our favourite… “It’s a holiday too!”
Experience helps, but start by questioning every item just in case. Put everything you intend to take in one place and ask whether each item has a clear purpose. Look for gear that can do more than one job and avoid unnecessary duplicates within a group.
After every trip, pay attention to what you never used. That’s often the easiest way to refine your pack for next time. That said, don’t strip out essential safety, warmth, water or gear simply to bring down the number on the scales.
The best time to deal with bad weather is before the trip.
Research the conditions the trail can experience, not simply the forecast you see when you leave home. Lynne has walked the Overland Track in February in vastly different conditions, including one trip with winds around 90 km/h. Make sure your clothing, shelter and sleep system are appropriate for what could realistically happen. And be prepared to change the plan. Getting to the planned campsite is never more important than making a safe decision.
We don’t like relying on a single device. A phone with downloaded offline maps can be a great navigation tool, but batteries run flat, phones get wet and electronics fail. Make sure you learn how to use it and make sure you’ve got all the maps downloaded that you need, because you can’t figure it out once you’re on the trails.
Depending on the route, we may also carry a GPS watch or device and a paper map as backup.
If your budget is limited, don’t feel like you have to buy the lightest version of everything immediately. Tash did her first Overland Track in jeans with canned spaghetti so ‘You don’t need to have everything perfect!’.
There are, however, three things we pay particular attention to and that’s your footwear, your backpack and your rain gear when you’re heading somewhere cold or wet. Those are the things that can quickly turn several days on trail into a miserable experience if they don’t suit you.
Duffel bags are a classic workhorse bag here in Australia for very good reason. They’re easy to pack, quick to throw in the boot, and versatile enough to work for everything from a weekend down the coast to Everest Base Camp.
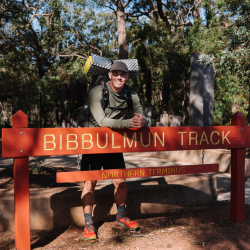
Expert ultralight hiker Cam Bostock reveals the gear lessons he learned from the Bibbulmun Track, Te Araroa and PCT, from base weight to off-grid power along with his favourite ultralight gear.
Looking for your next gear upgrade? We’ve rounded up some of the best new outdoor gear to land at Wild Earth, from trail running shoes and headlamps to fresh hiking essentials.
Can a 5-year-old go bikepacking? Adam and his son took a 10km overnight trip with a 16-inch kids' bike. Here's the route, gear, mistakes and lessons that worked.












Using Afterpay you can pay for your order over 8 weeks. There's no interest or added fees* and nothing to pay today. Payment will be automatically taken from your debit or credit card in four equal payments each fortnight over 8 weeks, and you will receive your order immediately.
You simply need:
To use this service simply:
Approved AfterPay buyers will require the funds for the first payment to be available on their card at time of checkout, however the first payment won't be deducted for 14 days. First time AfterPay buyers will need to make the first instalment payment at the time of their purchase.
If you wish to return your goods you can choose to receive an exchange, or the Afterpay payment plan can be cancelled before the first payment at no charge. *If you fail to have sufficient funds available for AfterPay to automatically deduct payment on due instalment dates you will be charged a late fee of $10, and if the instalment payment remains overdue, an additional $7 will be charged one week later.
With AfterPay, there's no waiting and we'll ship out your order immediately as normal.

When you want to go now, sometimes it's handy to pay later. That's why, we offer interest free payment plans from two of Australia's favourite Buy now, Pay later services.